Launching a Campaign
Accessing the Campaign Status Page
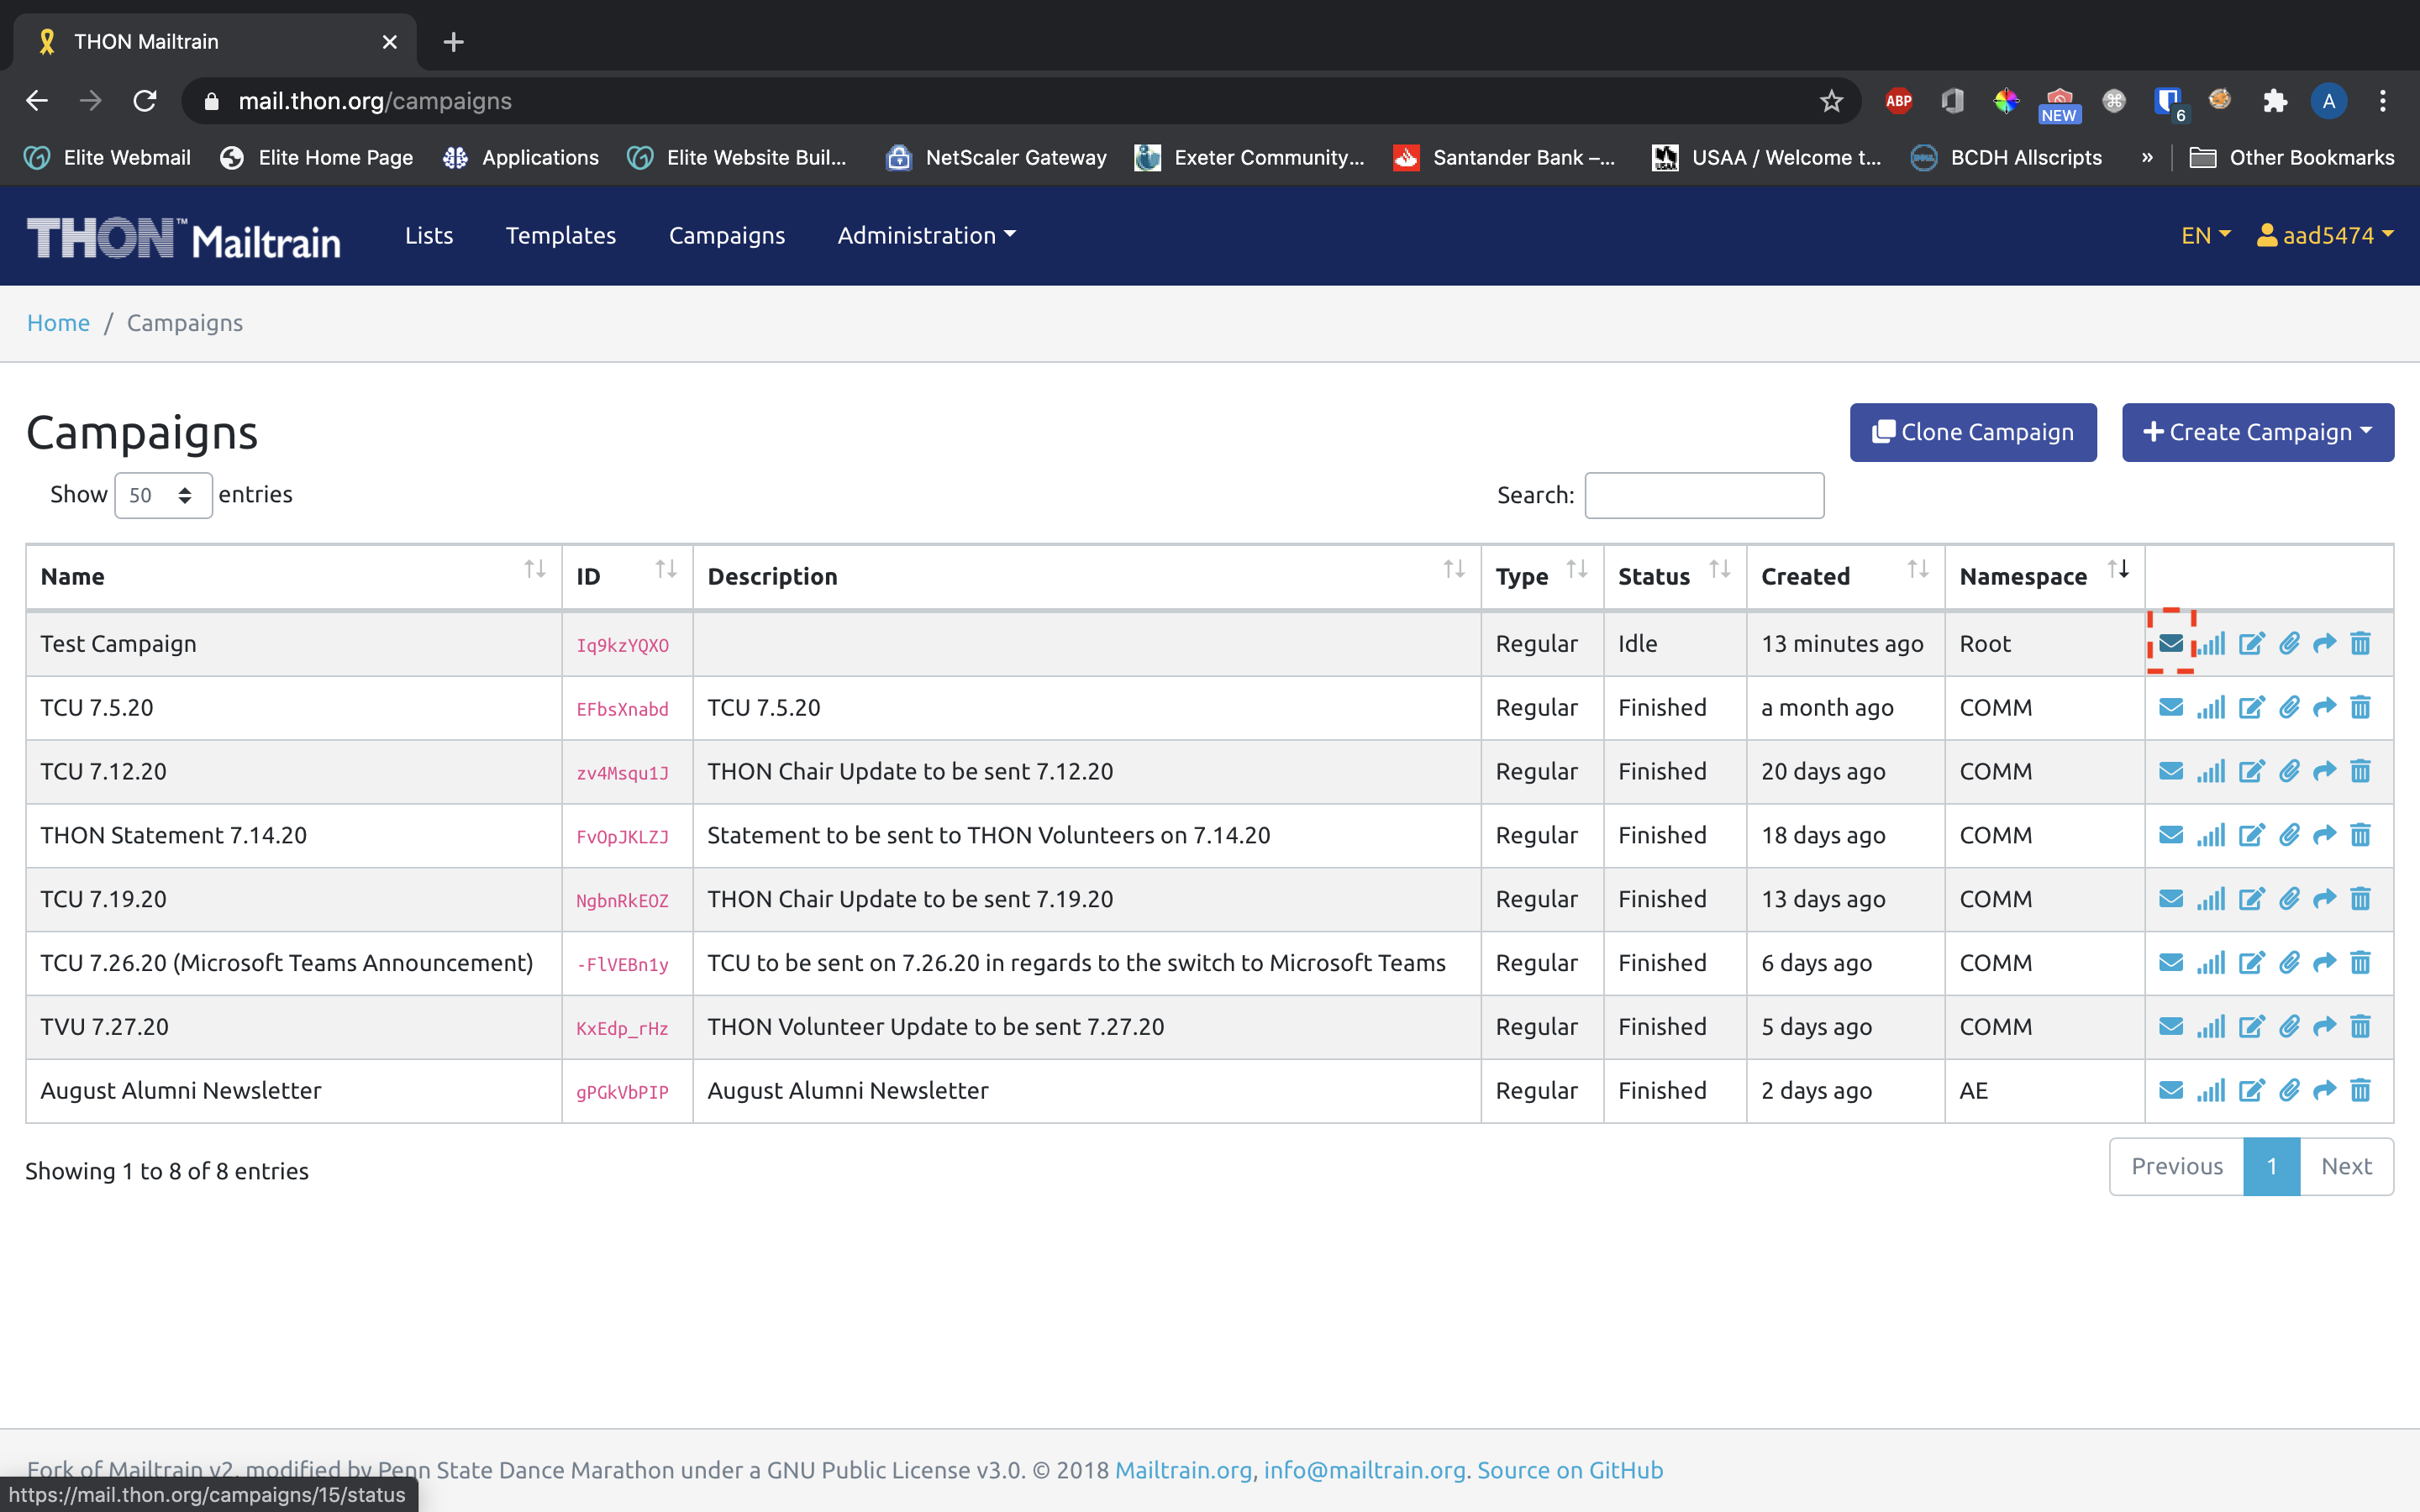
To launch a campaign, you will need to navigate to the status page of the campaign in question. If you have just clicked Save campaign and go to status, you will already be there; to access it from the homepage, go to the Campaign page and select the Mail icon on the campaign you wish to send.
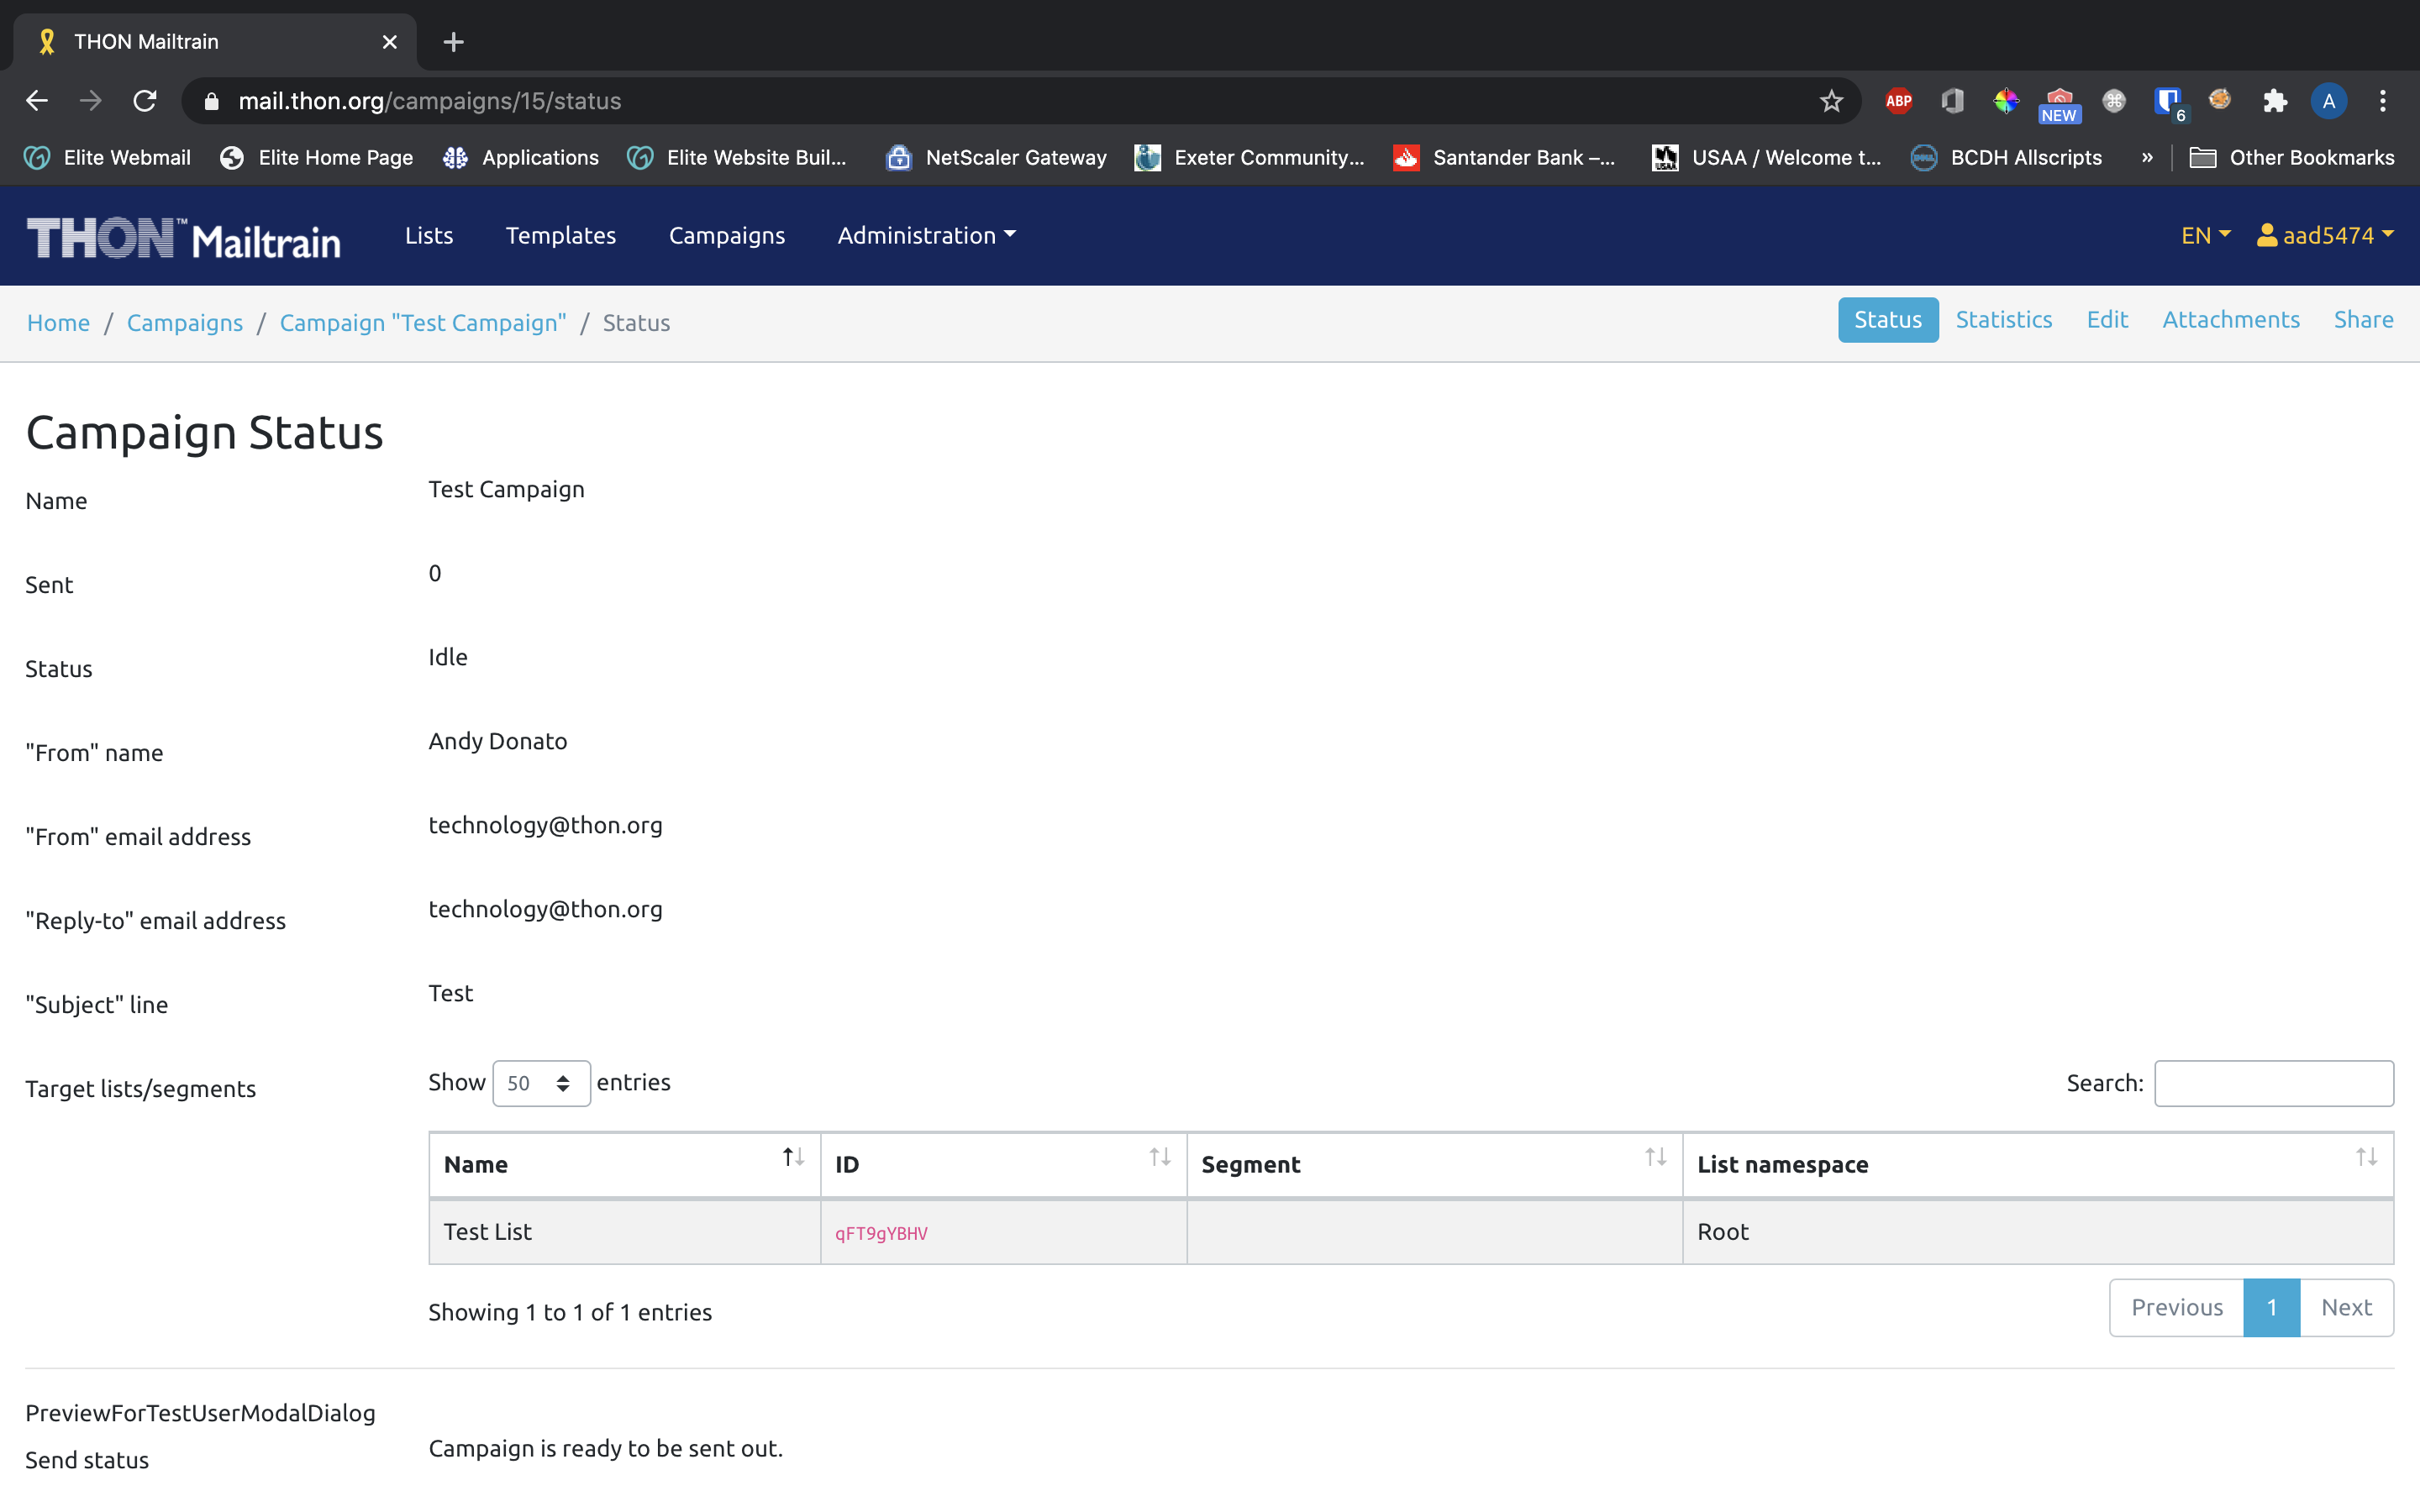
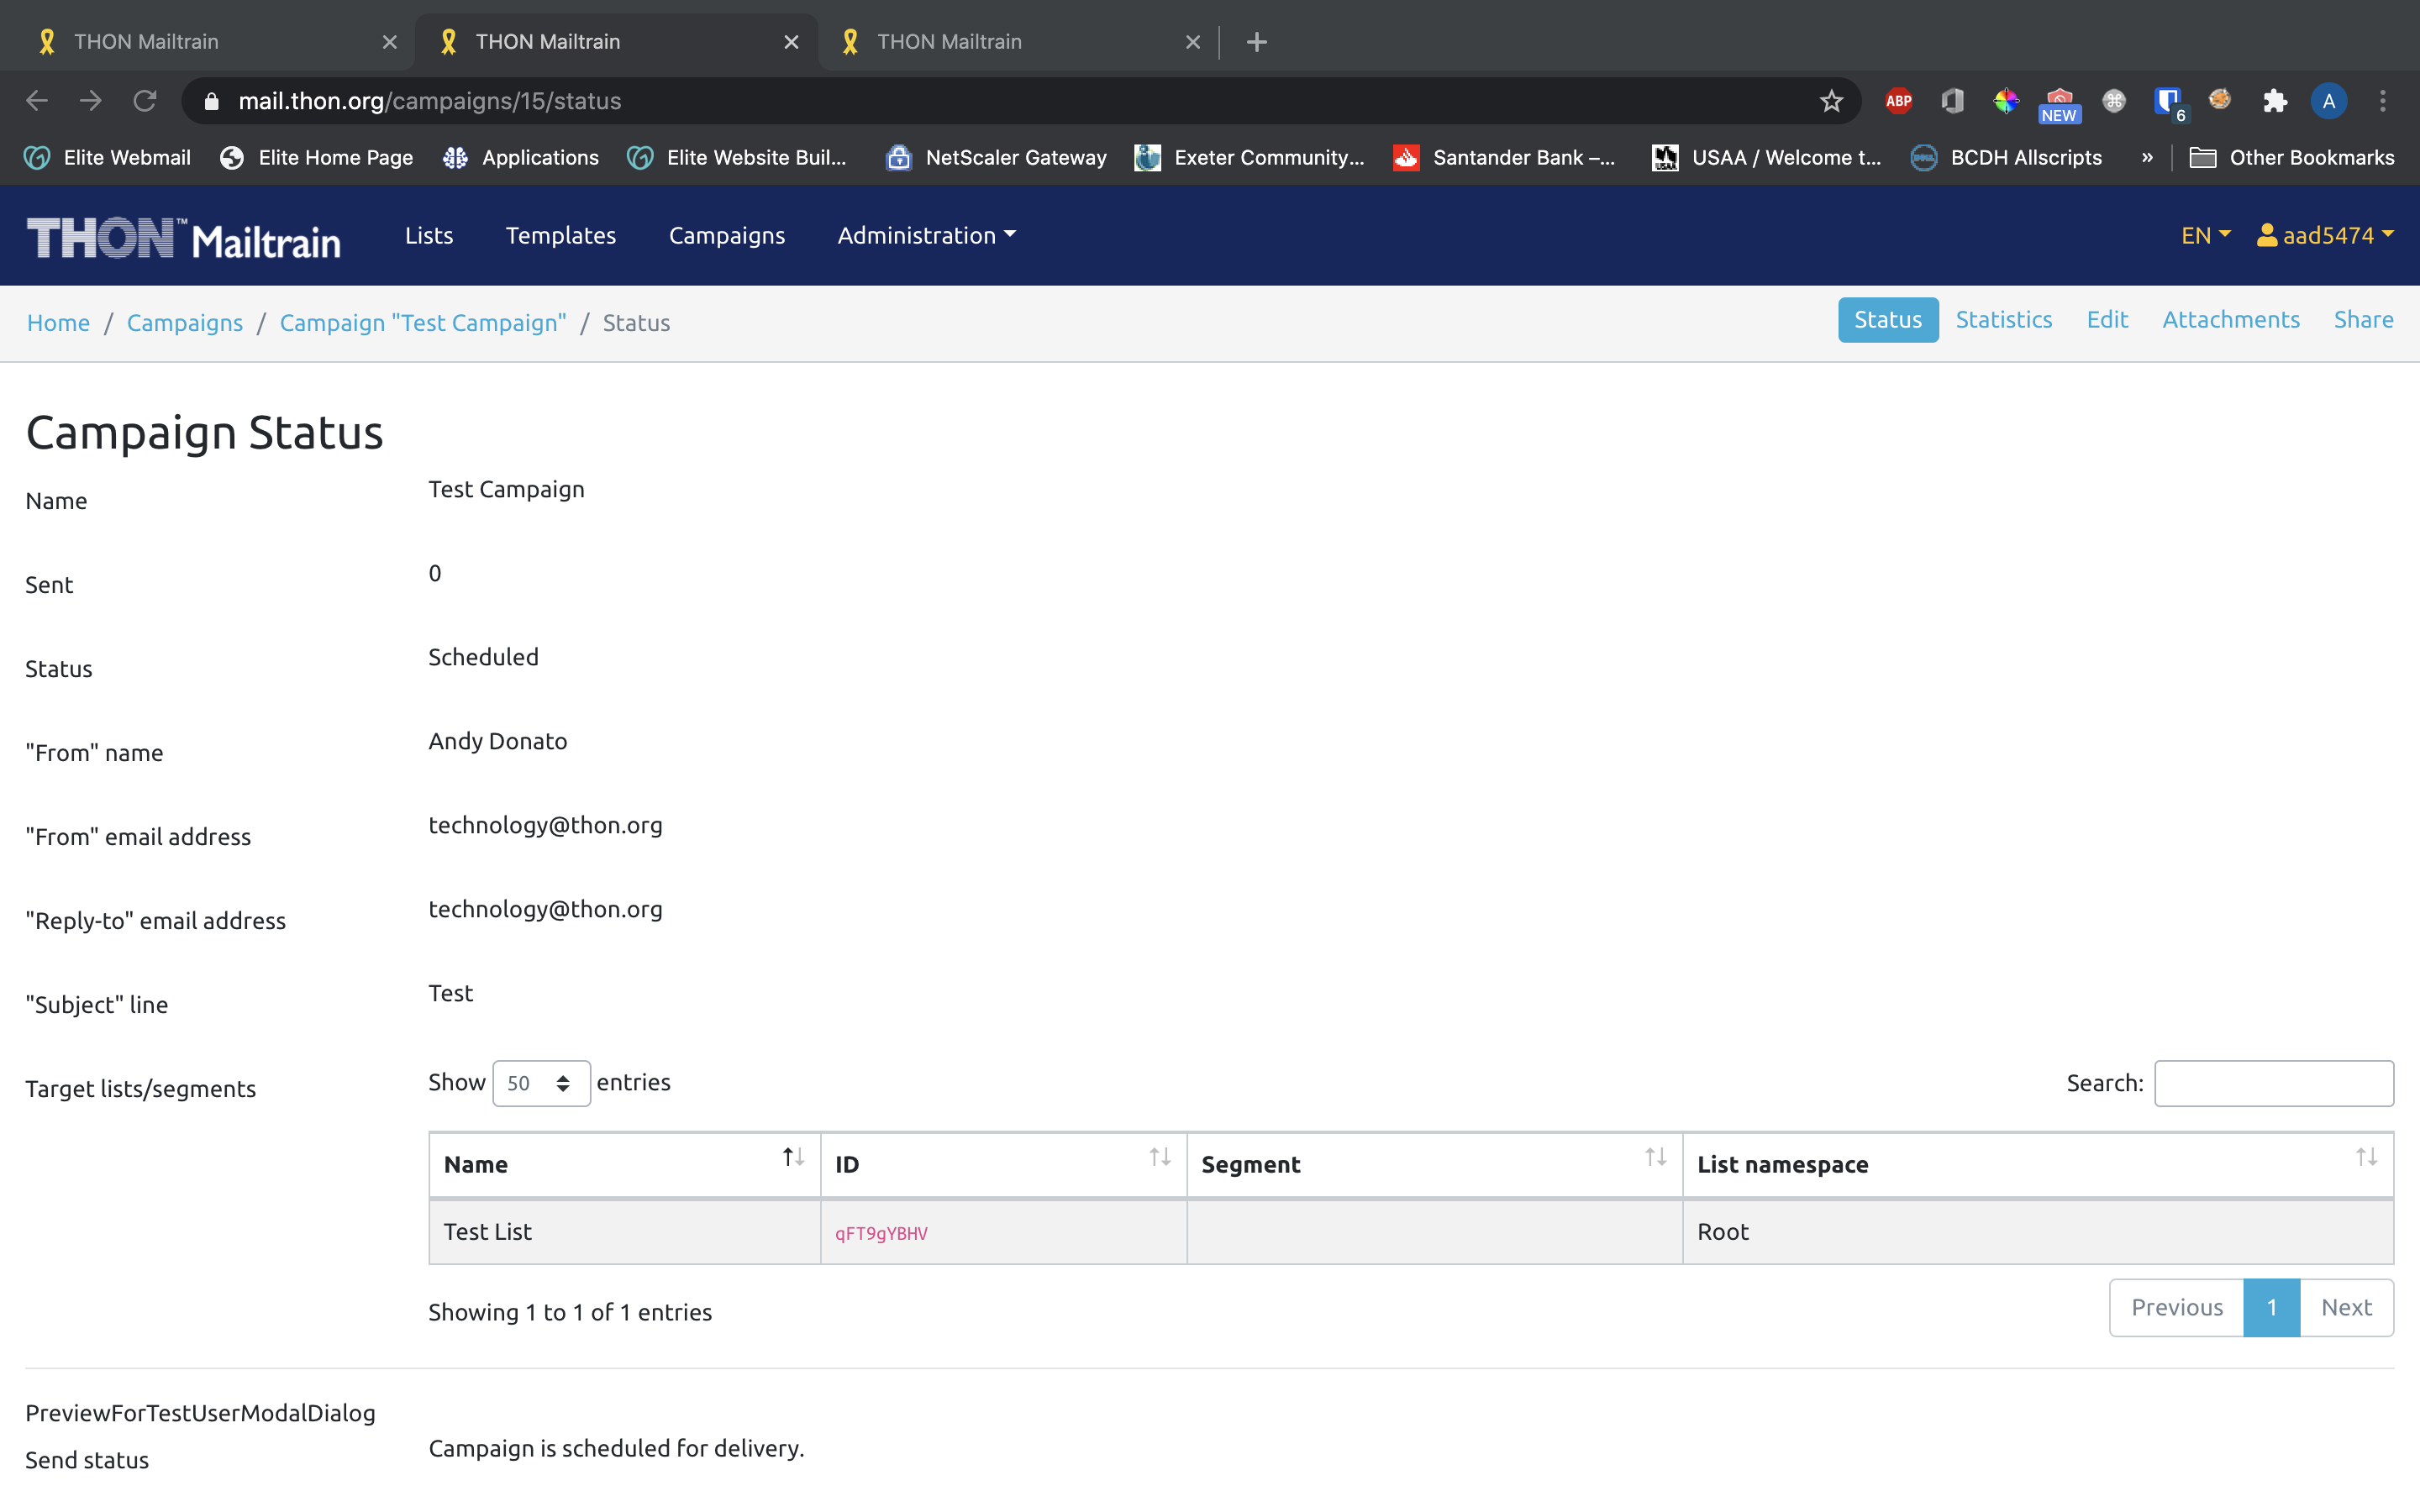
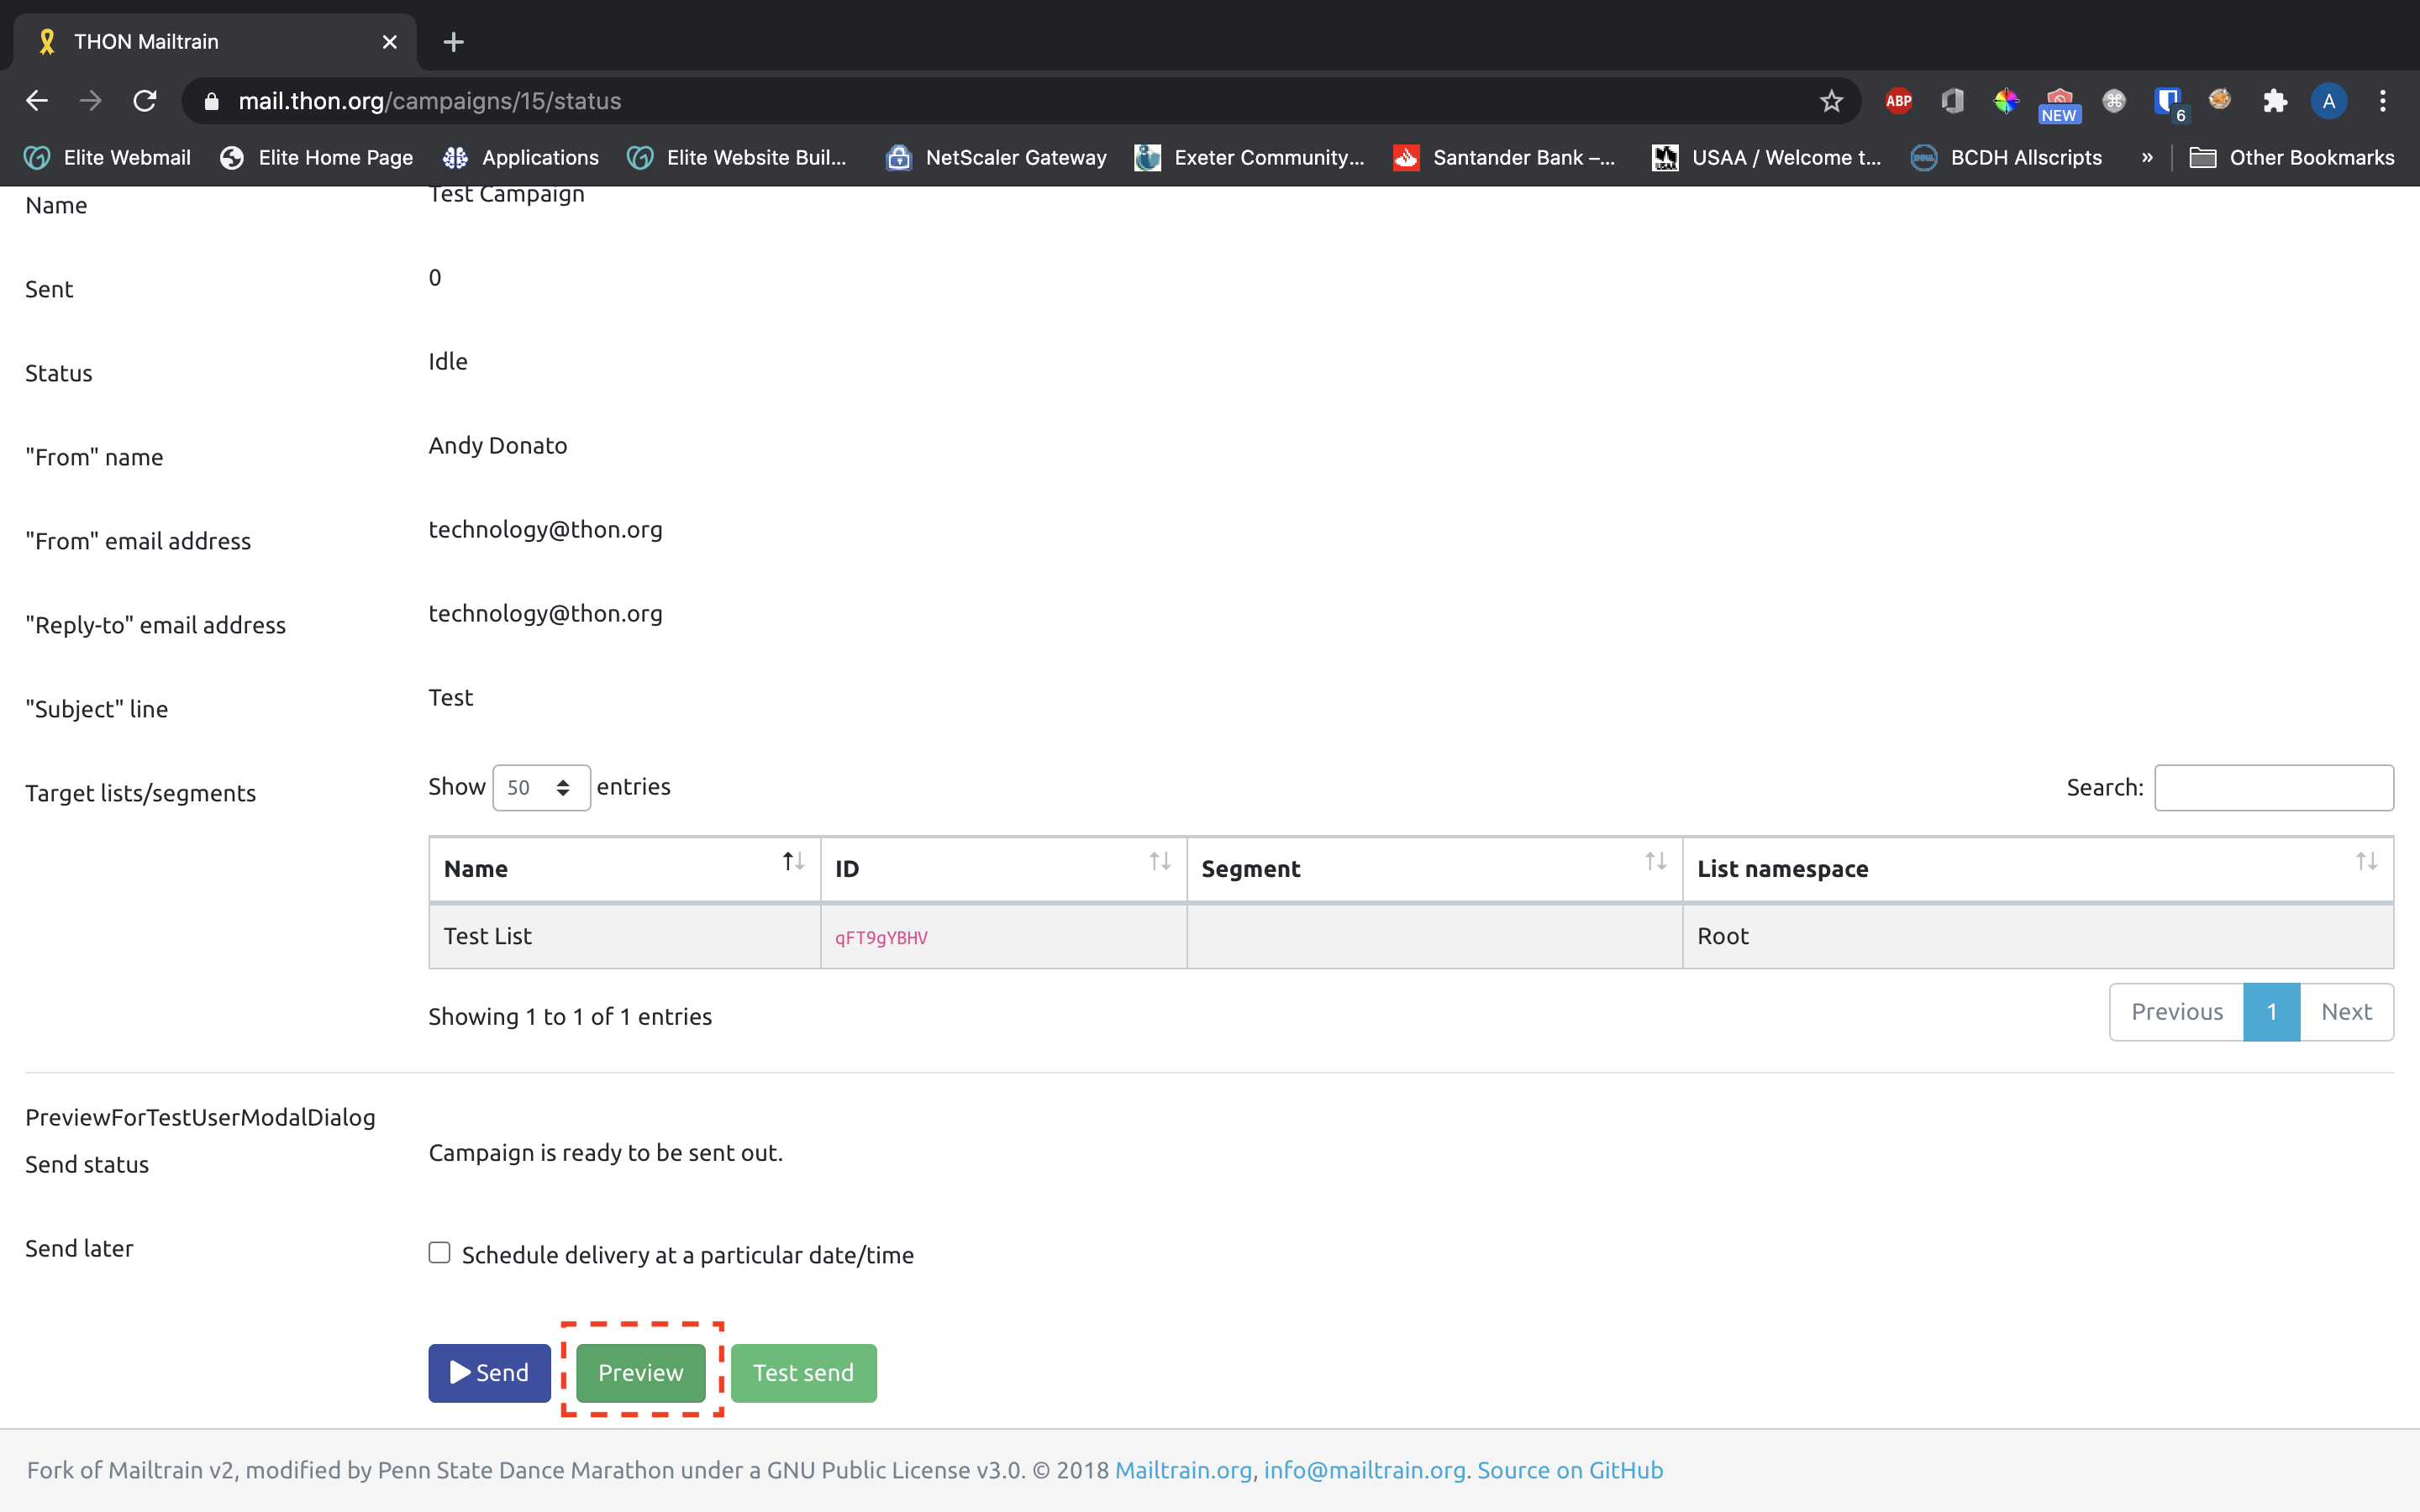
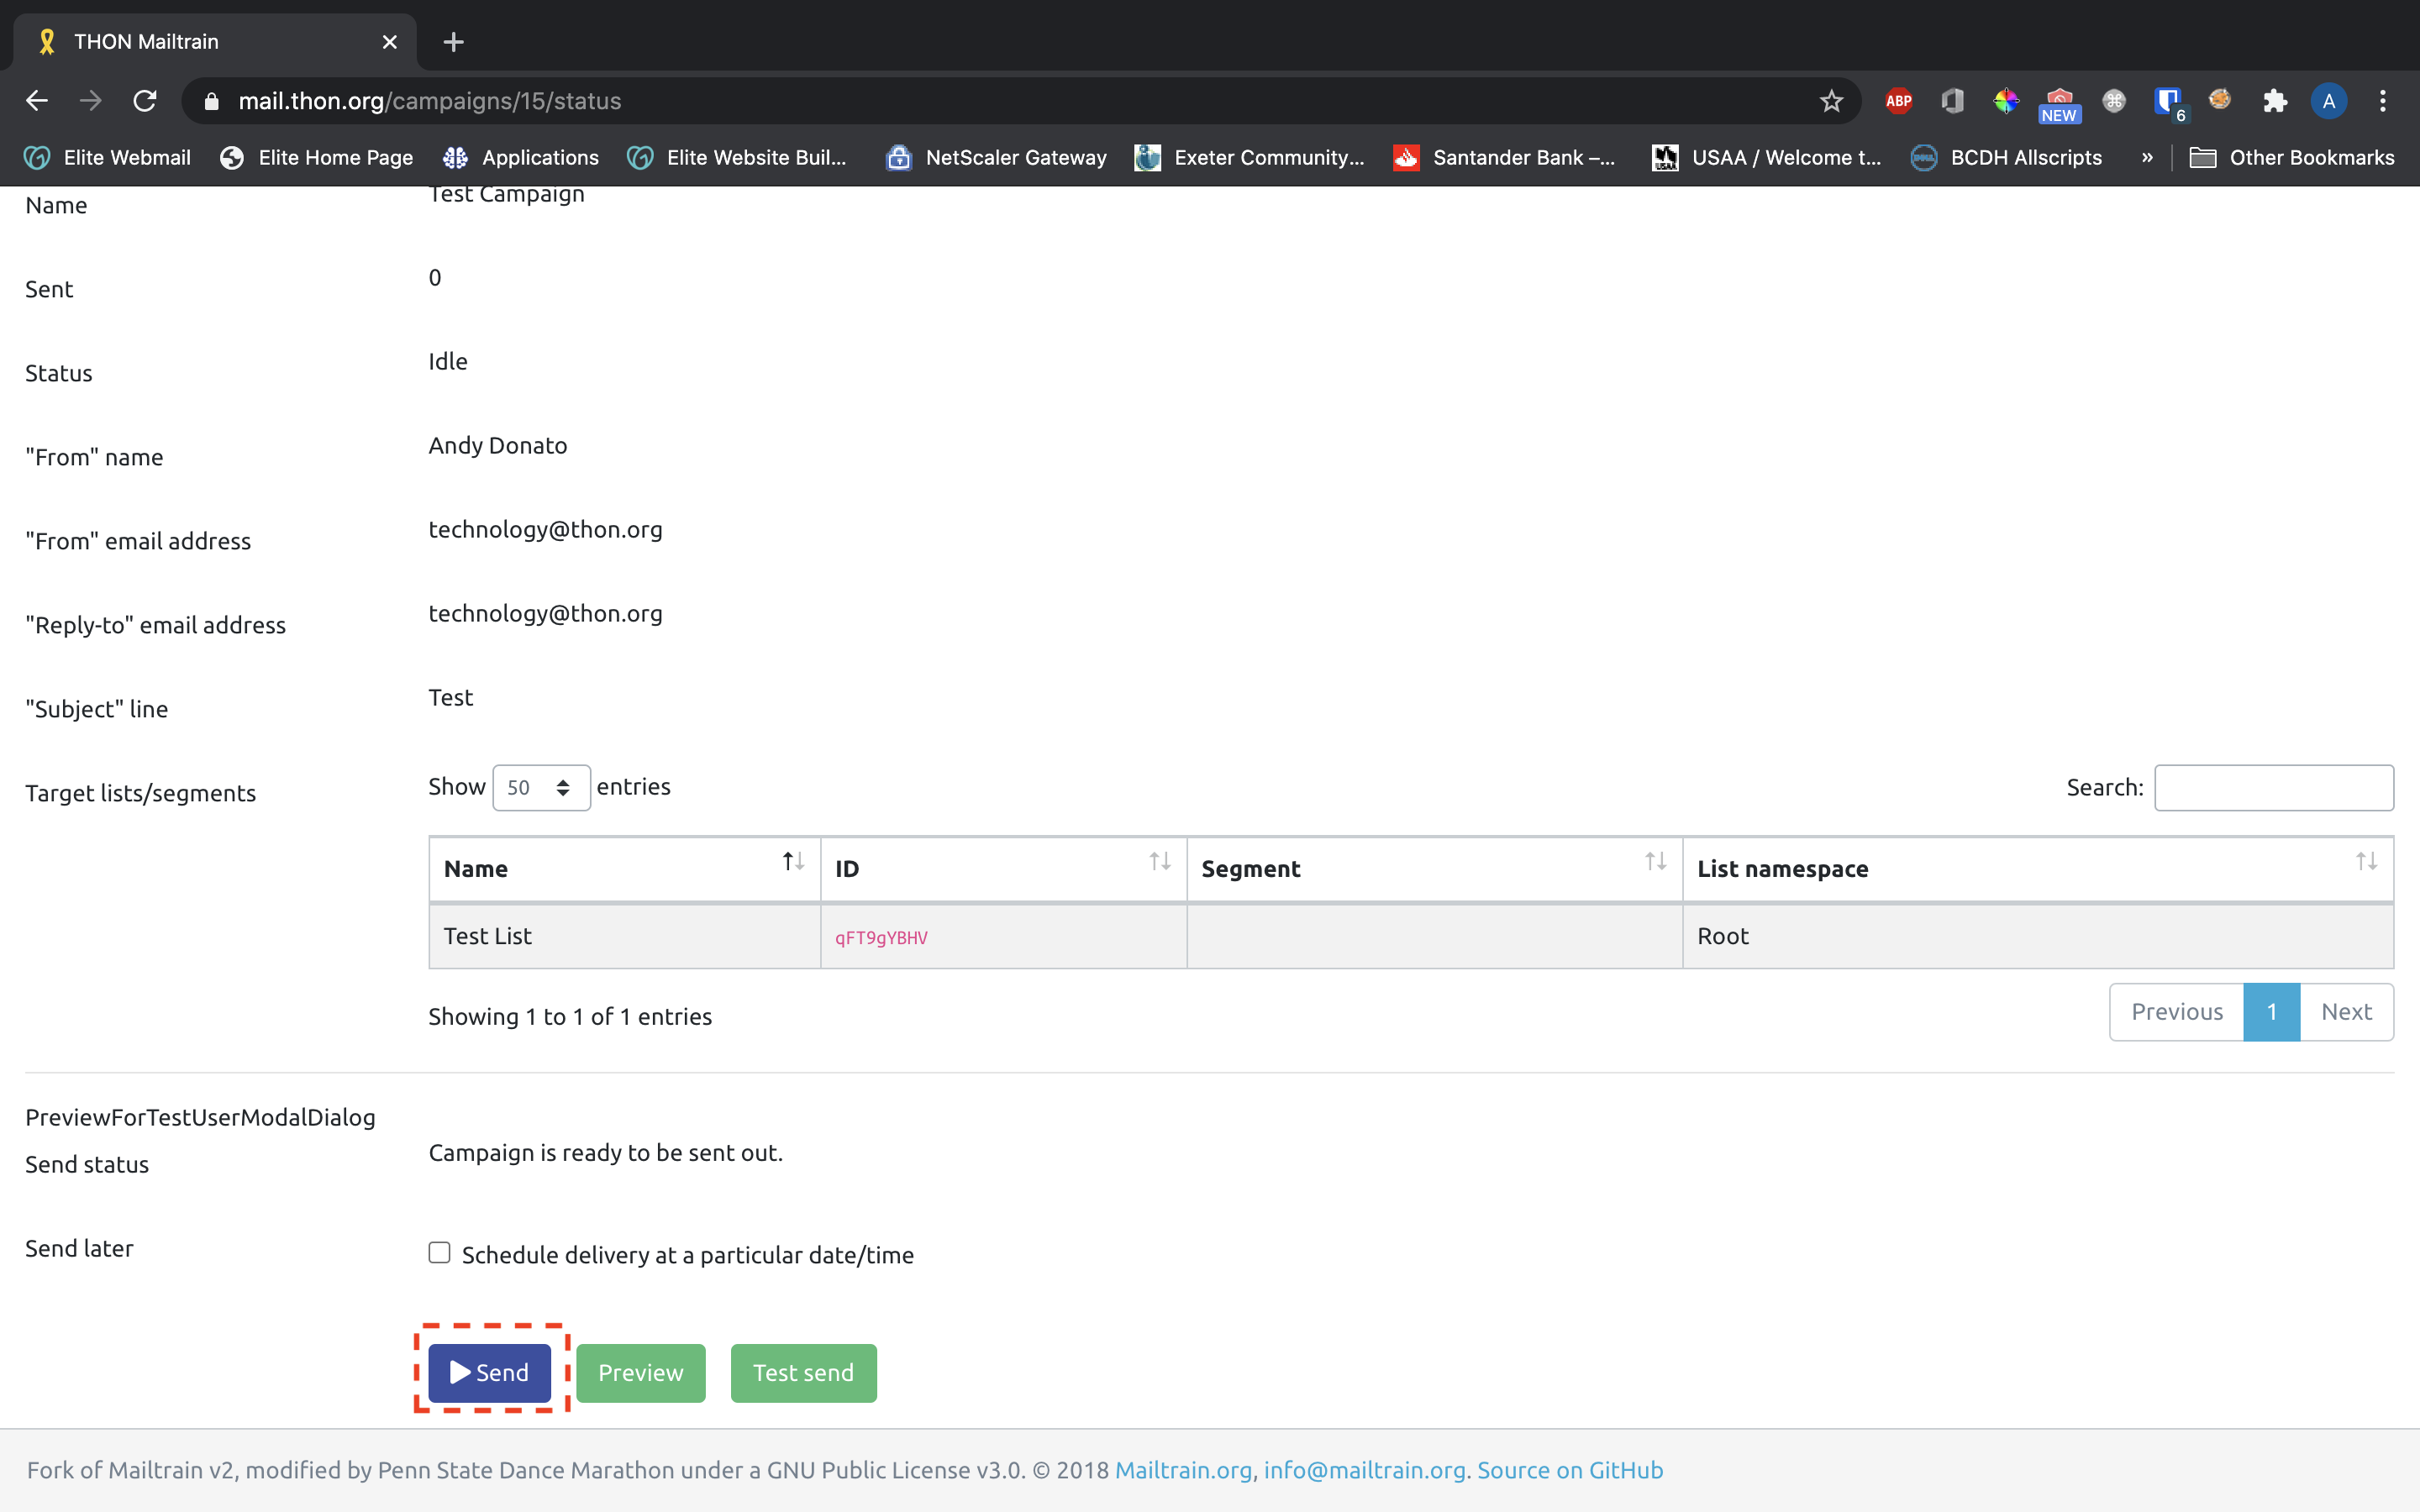
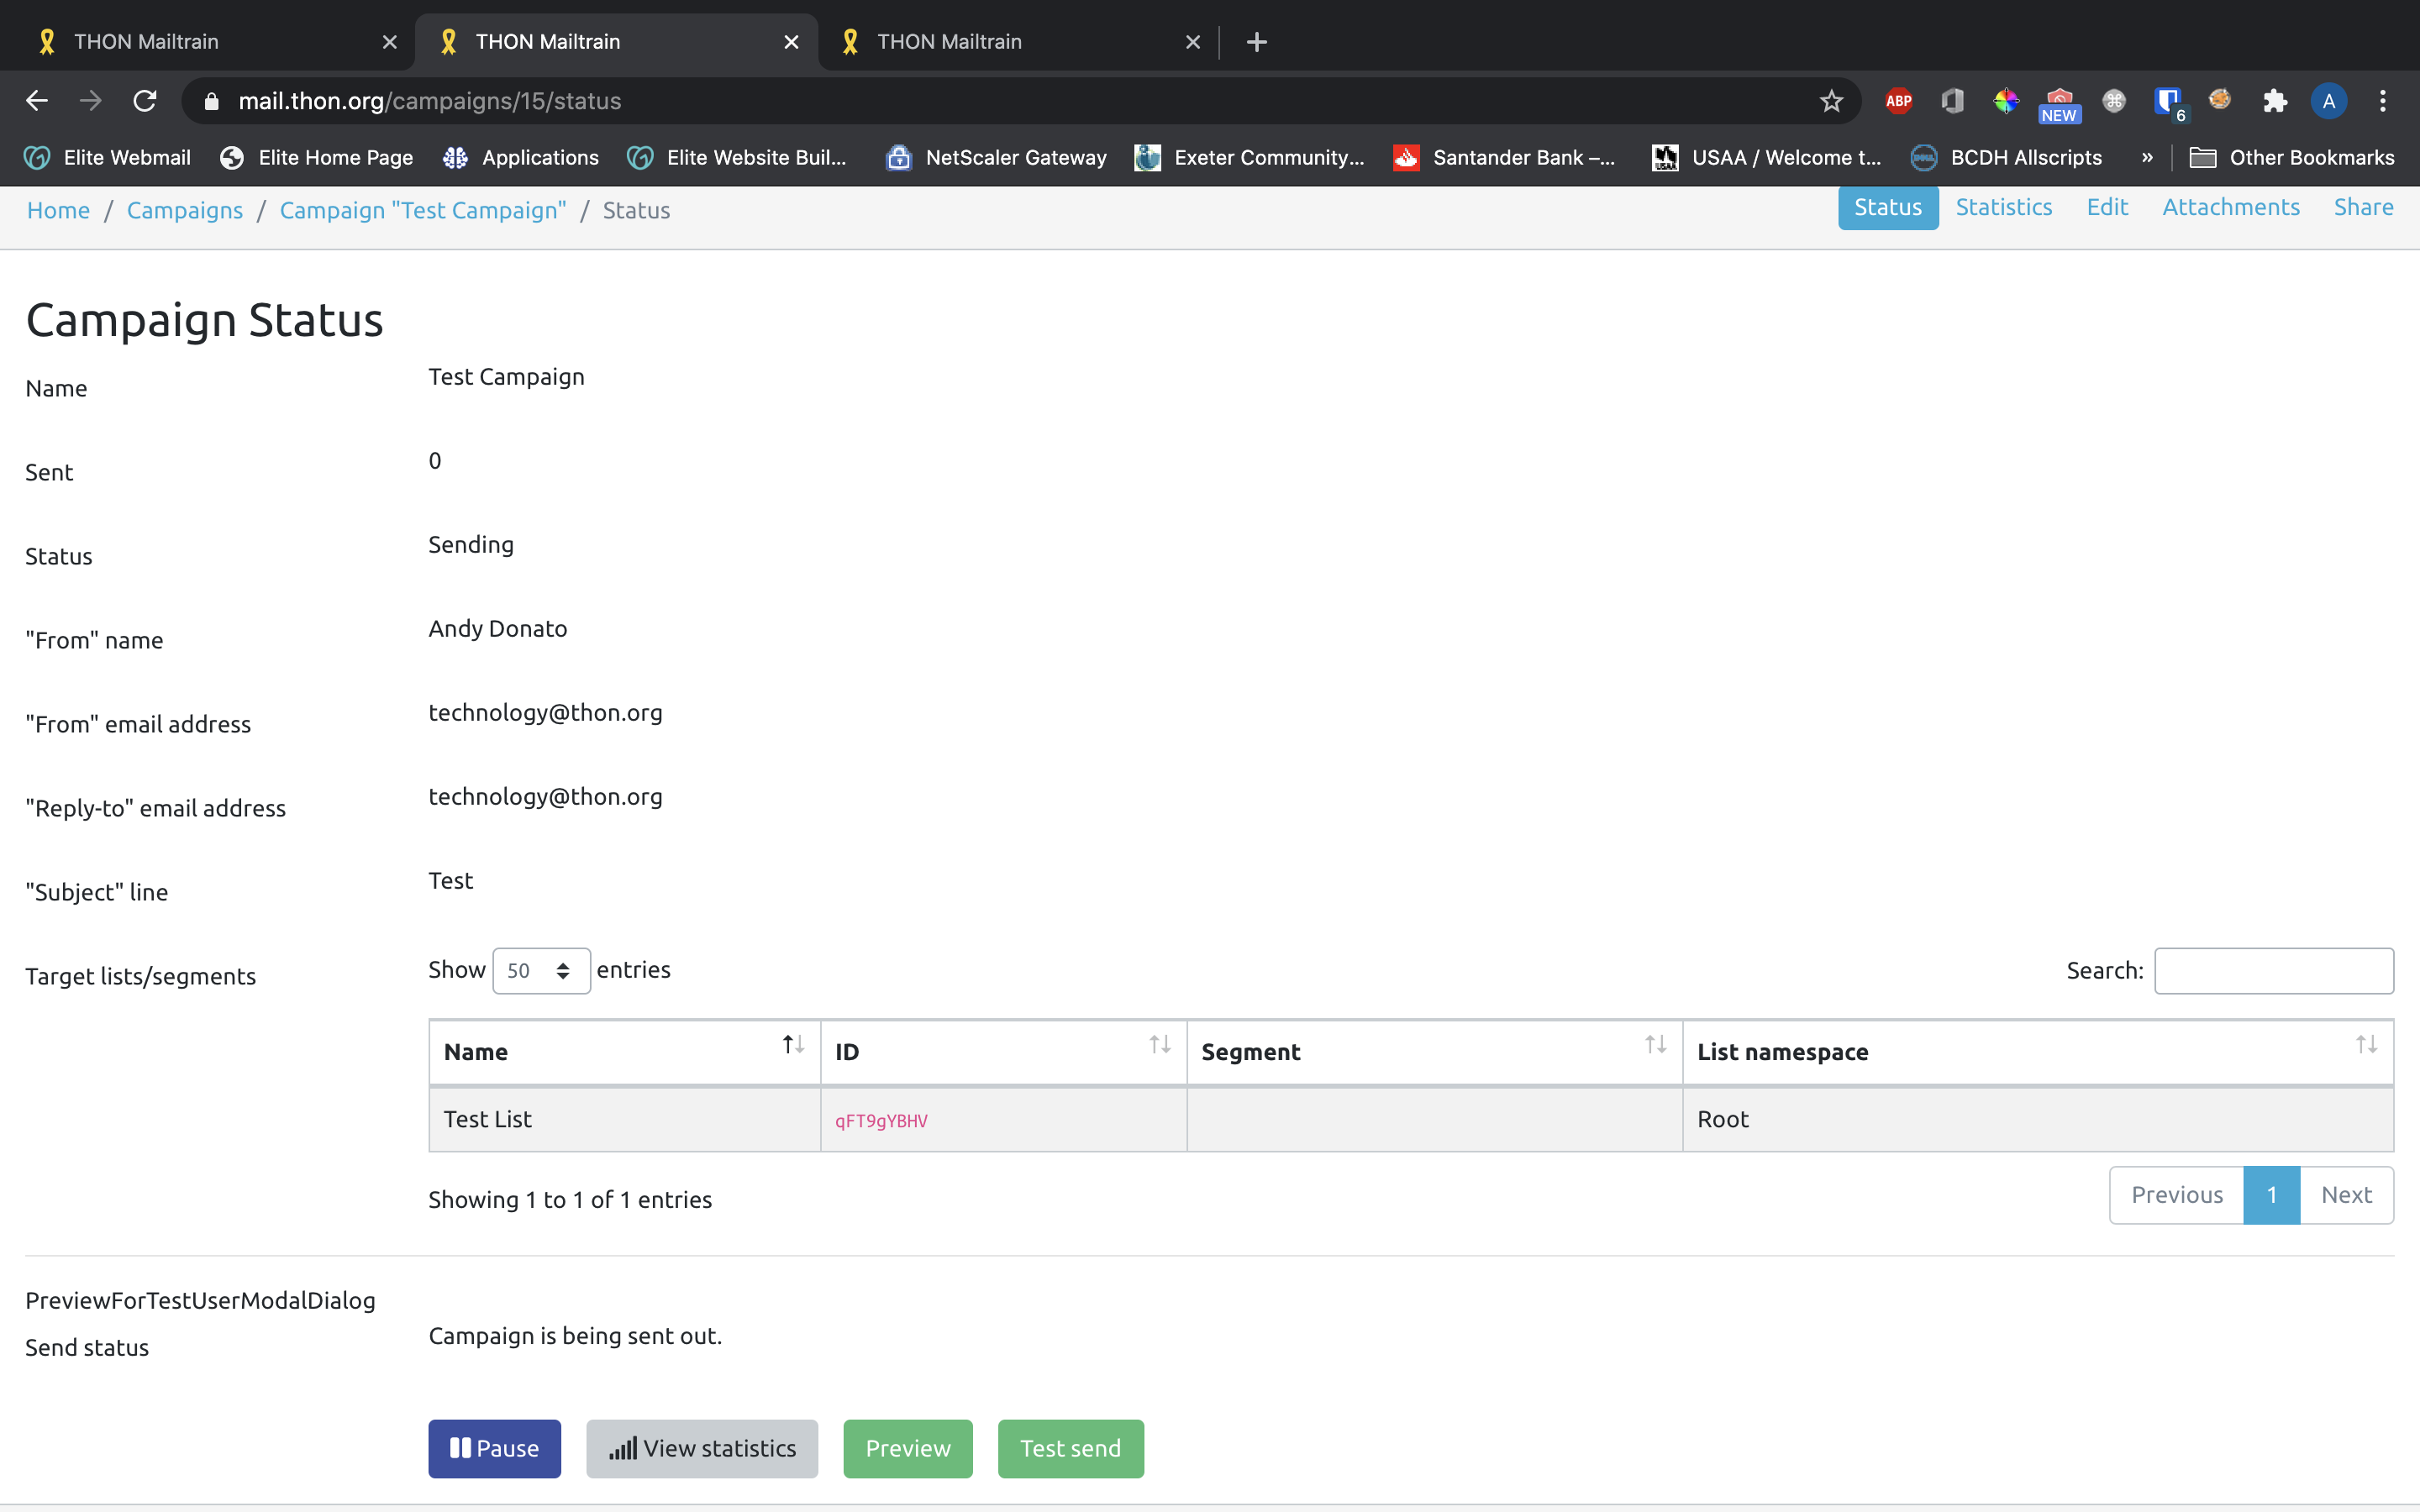
The campaign status page shows a dashboard with the following information:
- Campaign Name
- Number of emails sent
- Campaign Status
- Email from name
- Email from address
- Email for replies
- Subject line
- Targeted mailing lists / segments
Underneath this read-only information is a set of buttons used to verify and launch the campaign.
Double-Checking Campaign Content
Before sending, it is highly recommended that you verify the content to ensure the email looks exactly how you intend. There are two tools you can use to verify the campaign content - Preview and Test Send.
Preview Checklist
Keep in mind that campaigns can reach massive audiences - double-checking every campaign you send is a great way to prevent mistakes from being broadcasted to thousands within the THON community. We recommend checking your template for the following items:
- Overall look/feel - make sure it looks the way you want and that no unintended blocks snuck into the template
- Typos, misspellings, and grammar - these details, however small, reflect on THON in a big way
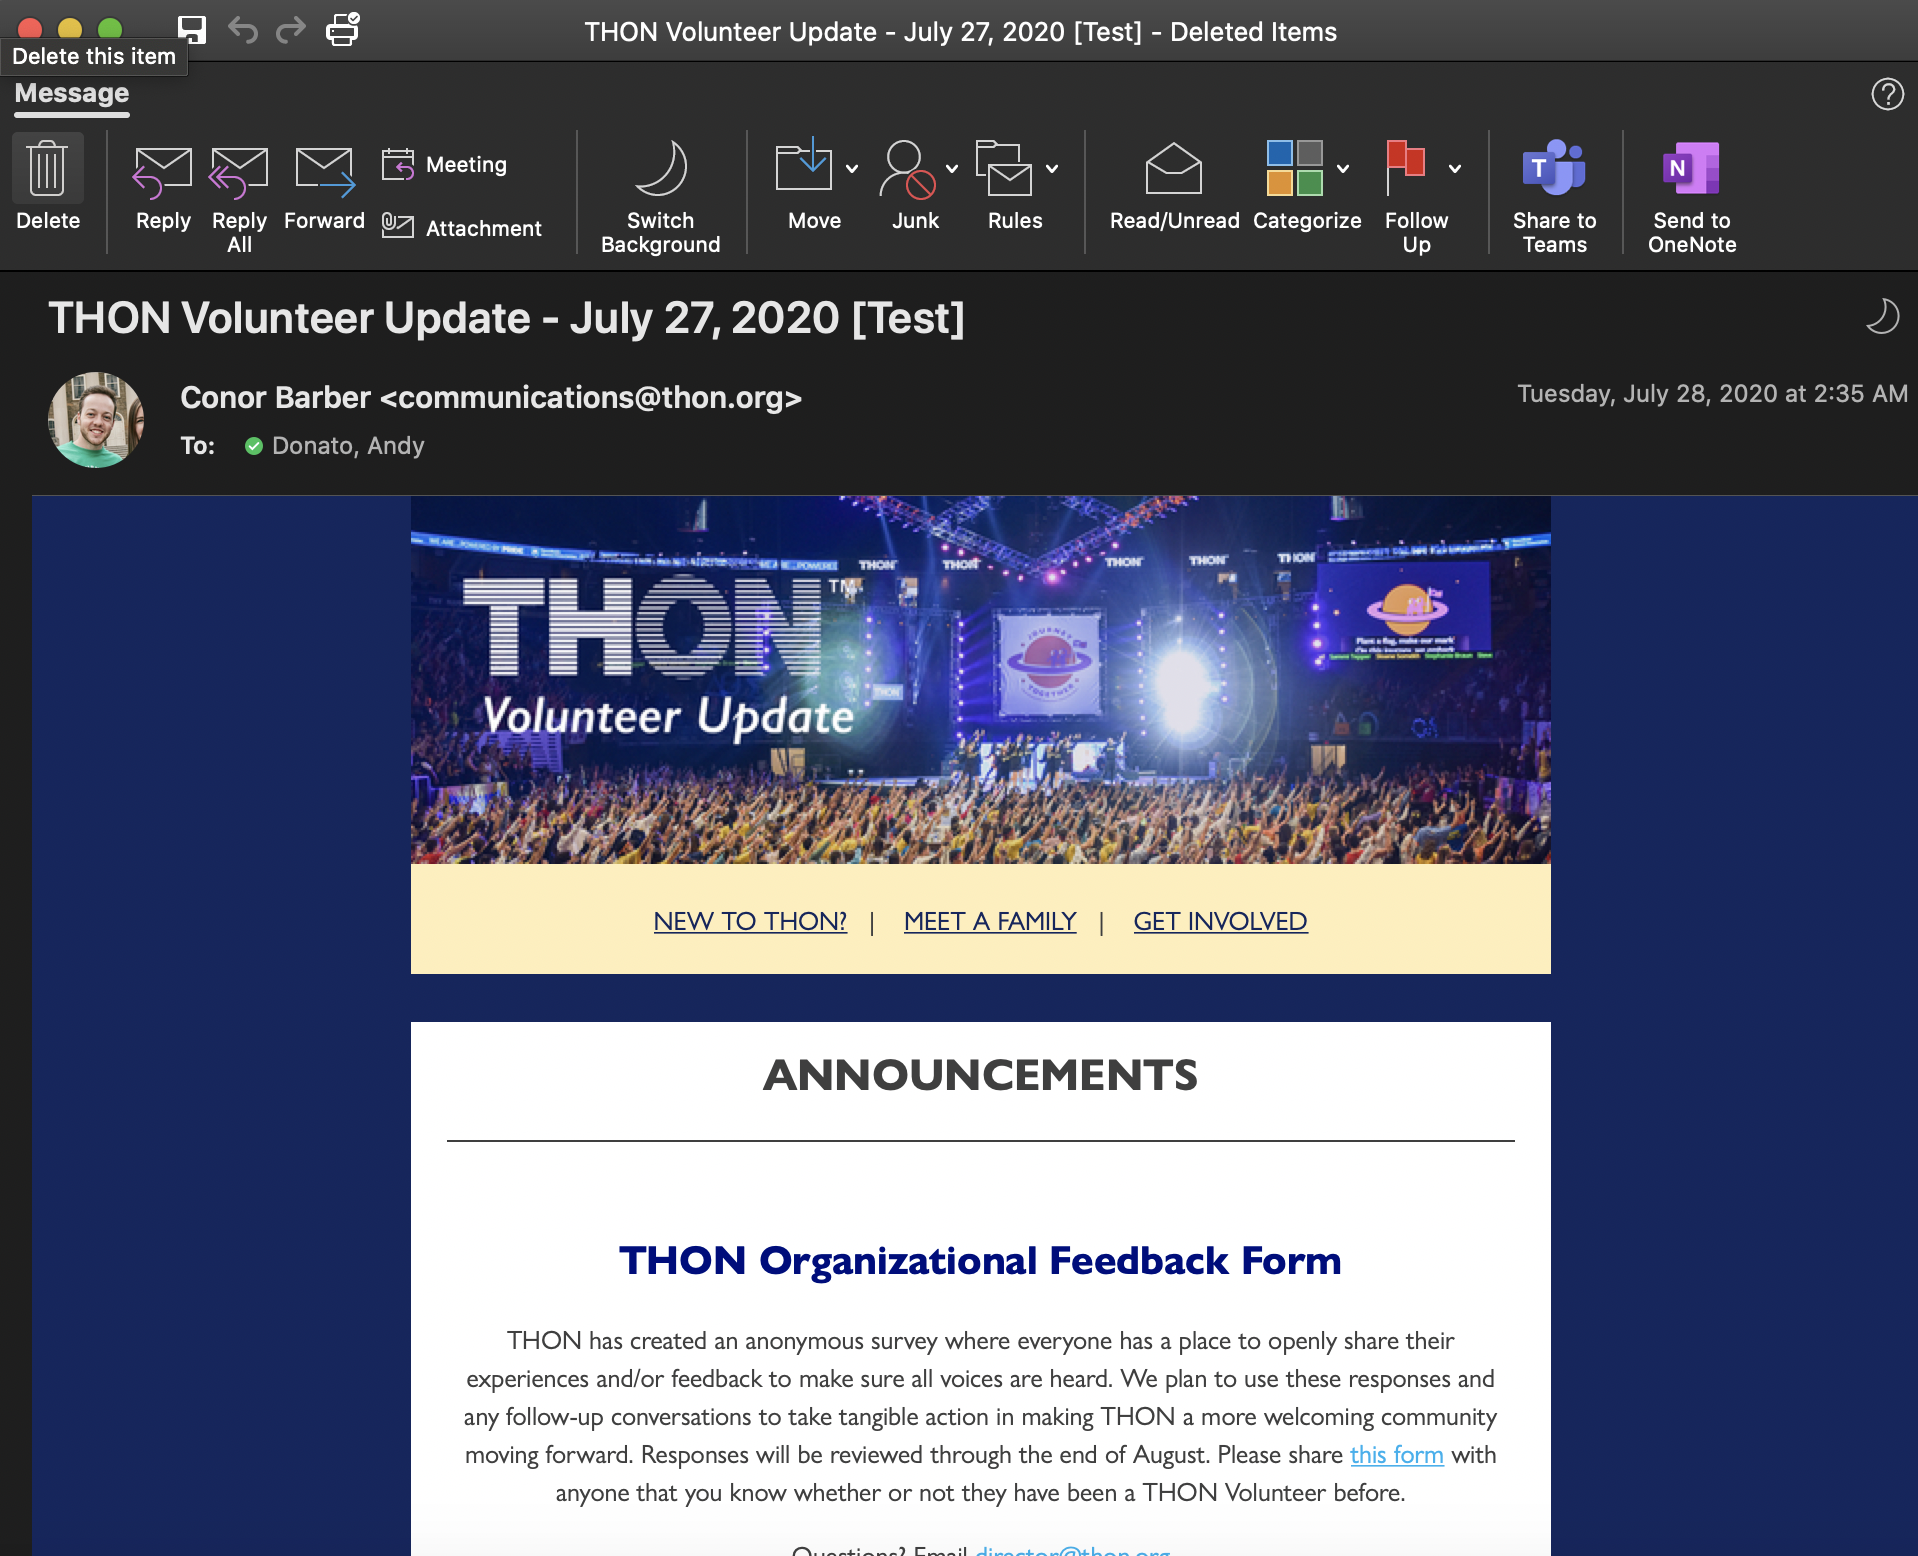
- Images - make sure all images you've added to the template show up
- Links - make sure all the links you include work properly
- Unsubscribe - make sure the unsubscribe link is still present in the footer
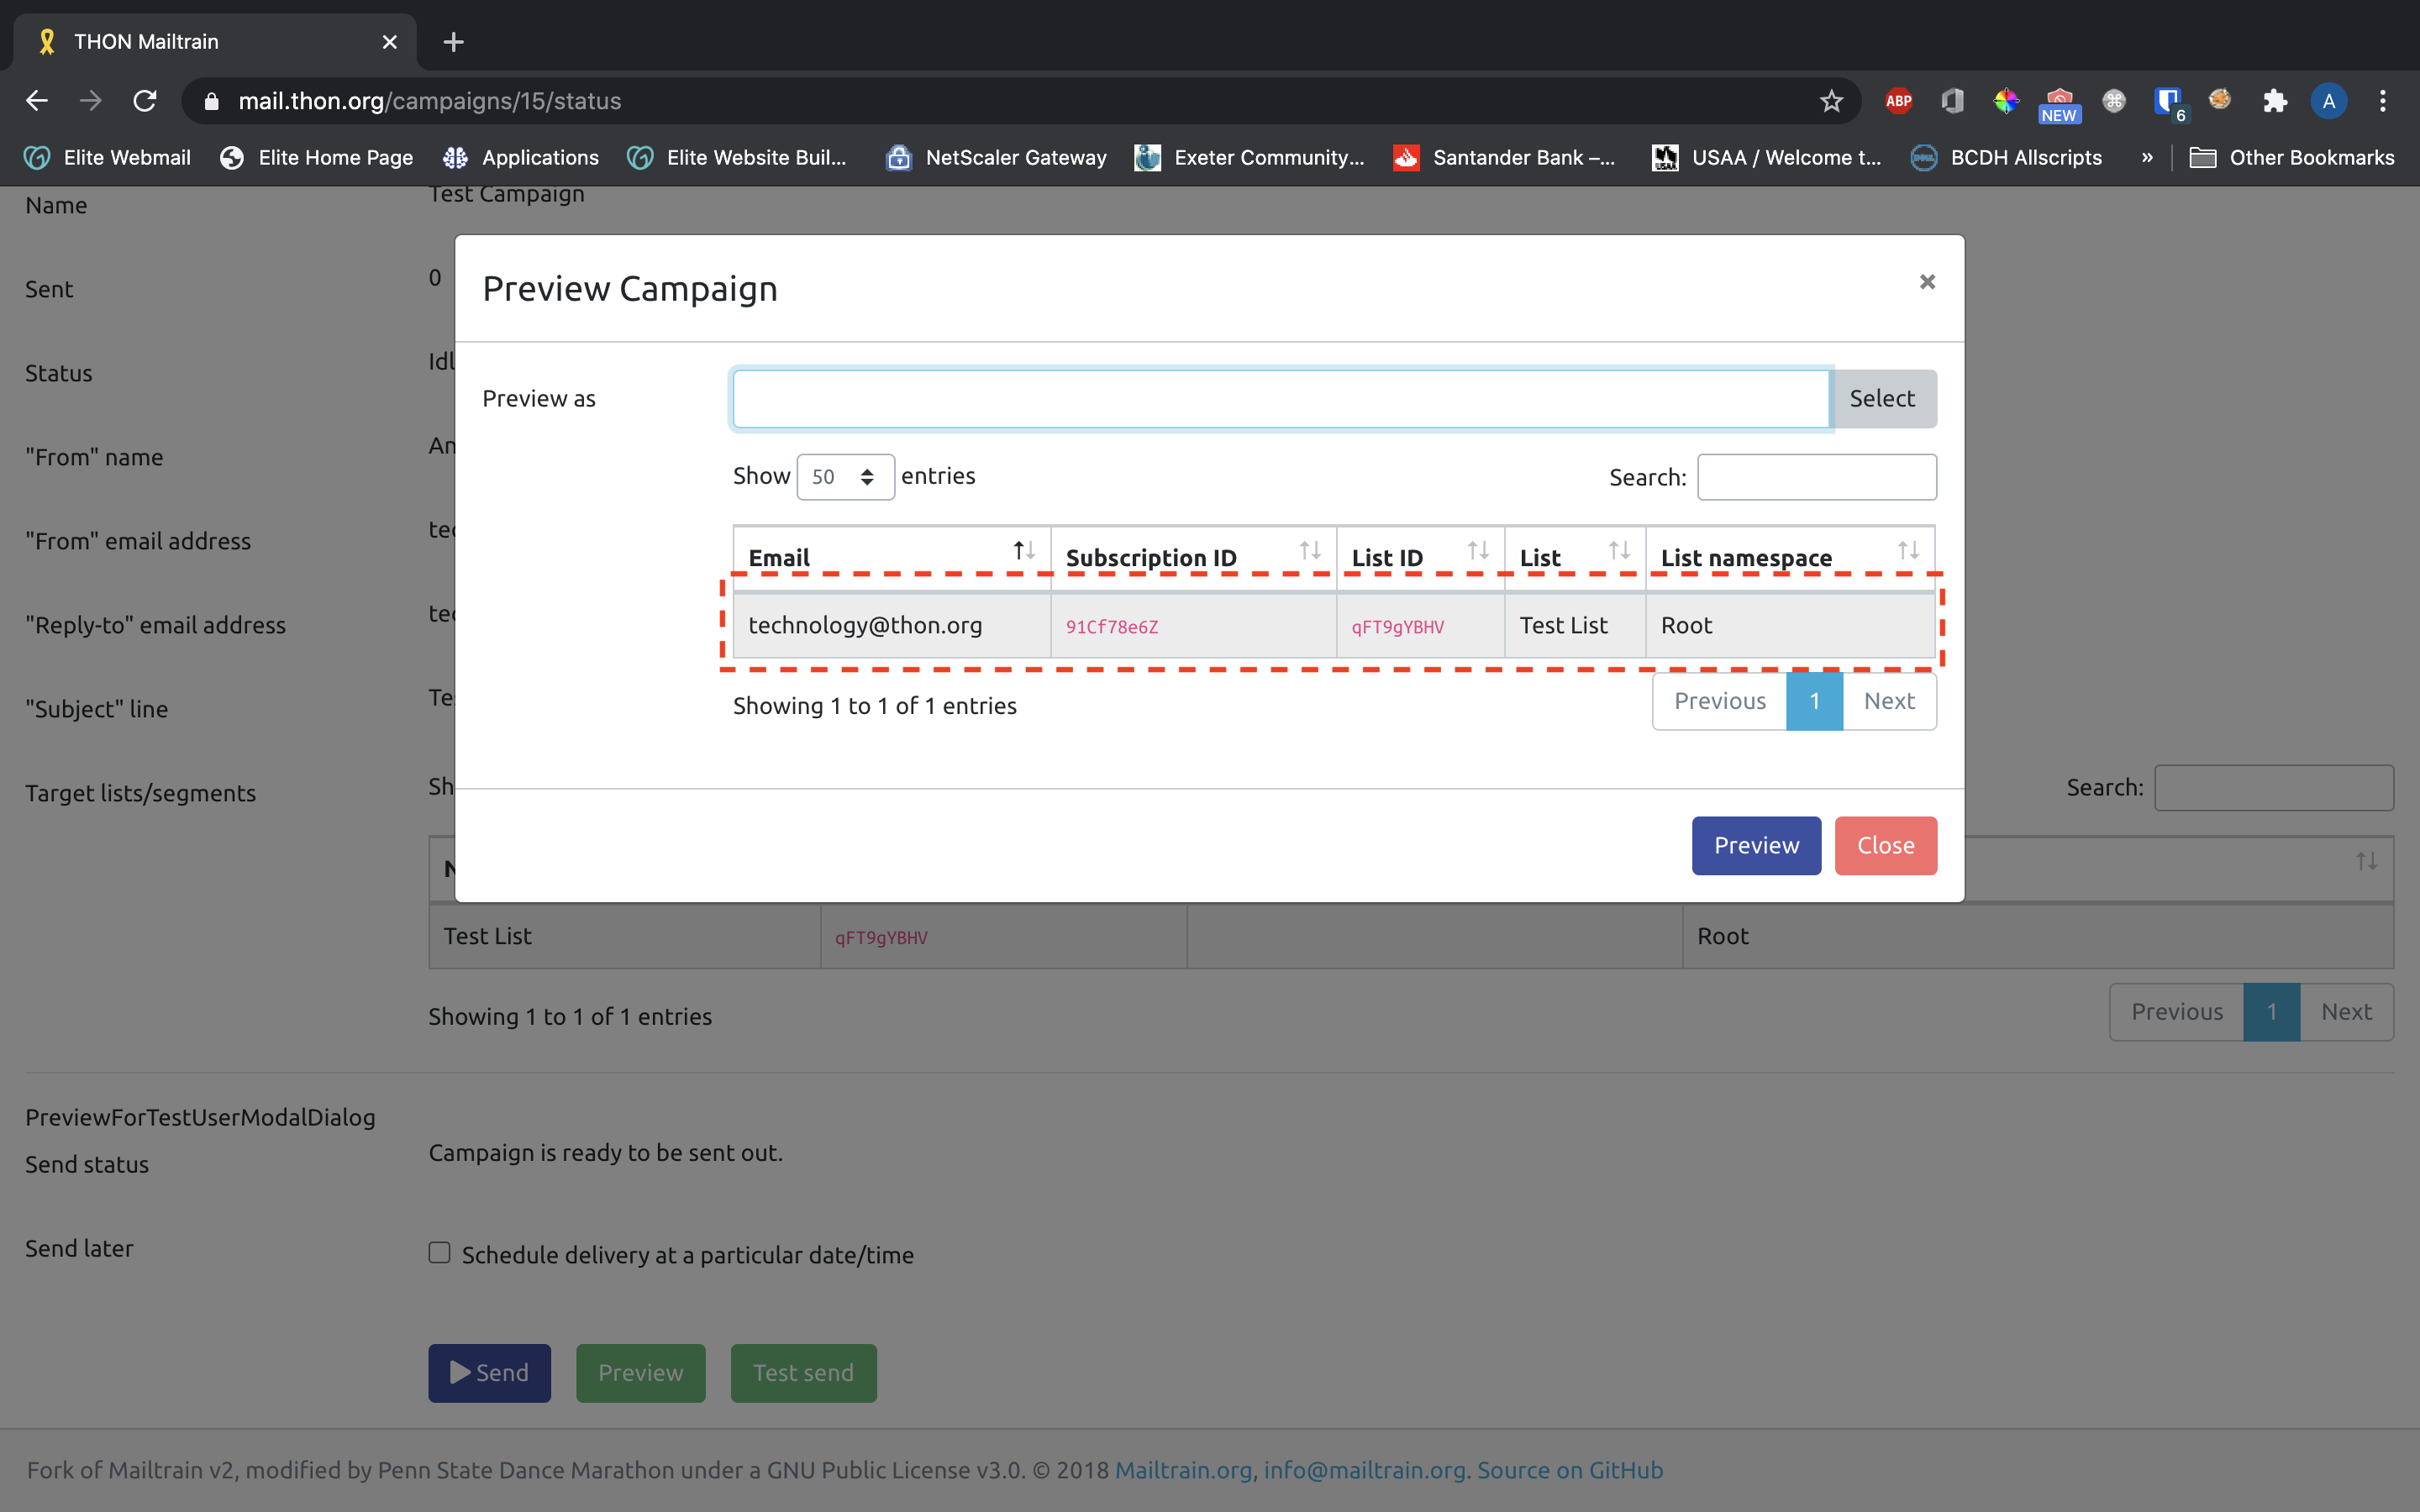
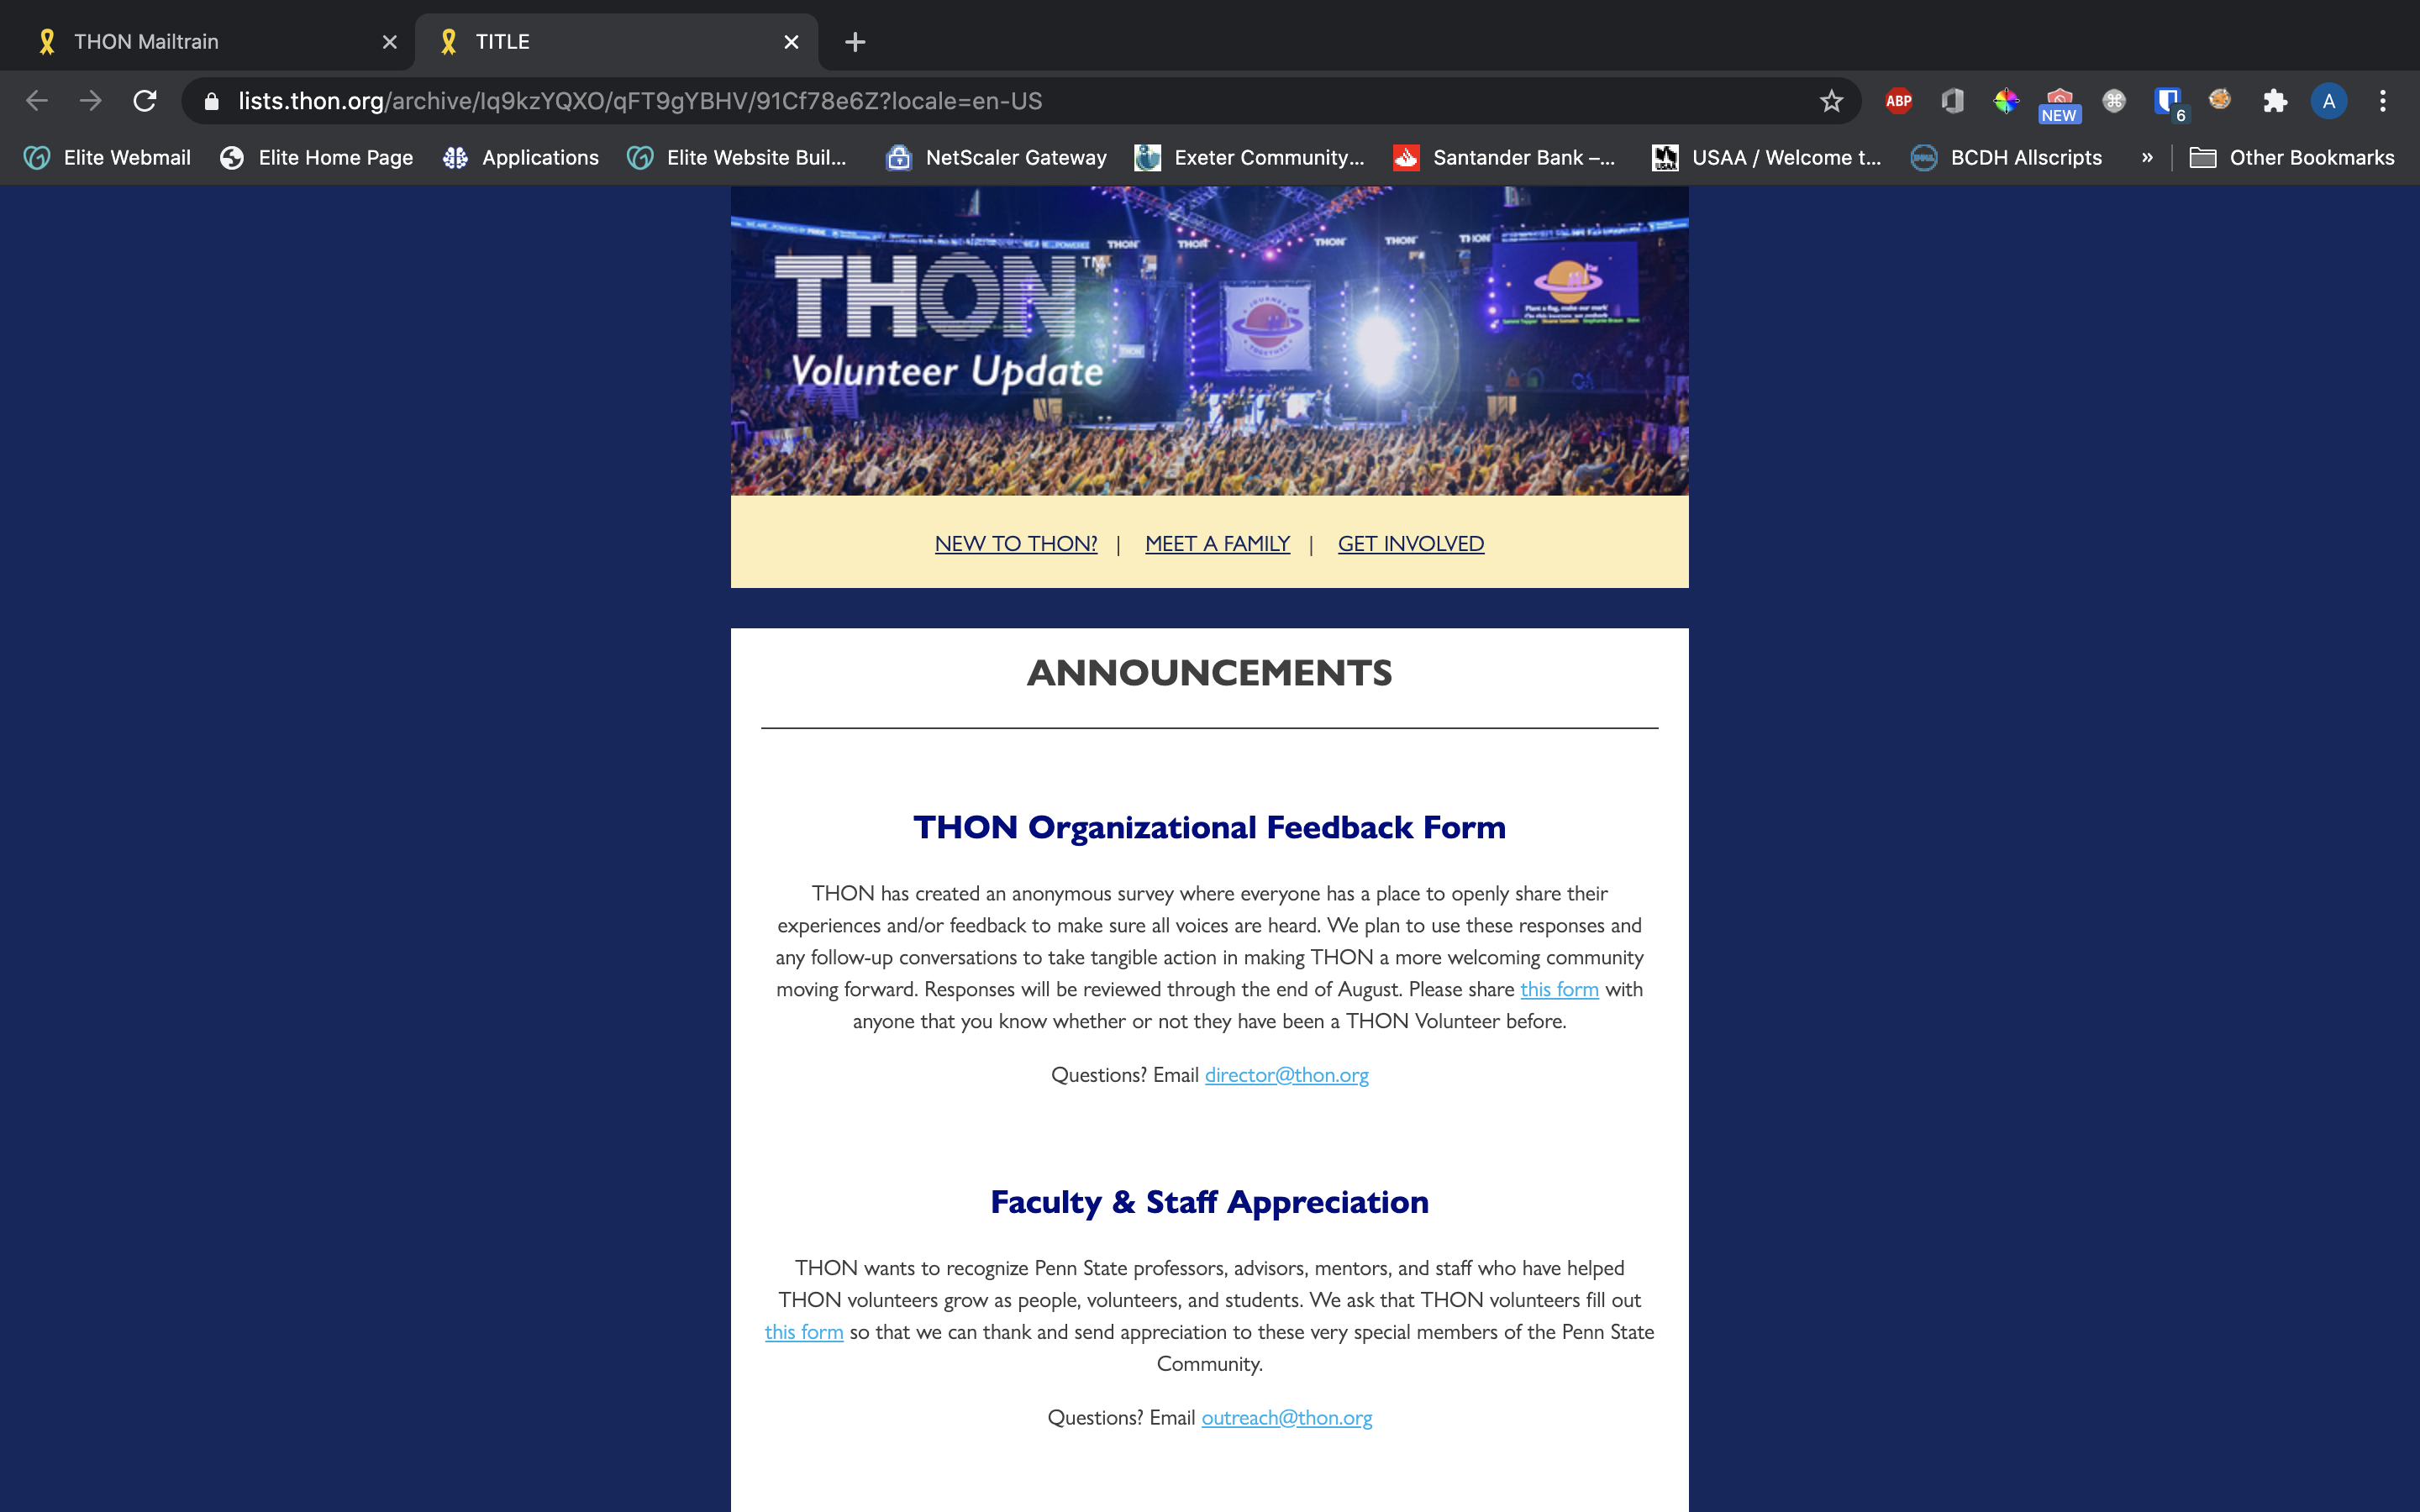
Preview
Clicking the green Preview button at the bottom of the status page allows you to view the email from the perspective of a recipient in a new browser tab. You will need to select a Test User recipient to view as:
Test Send
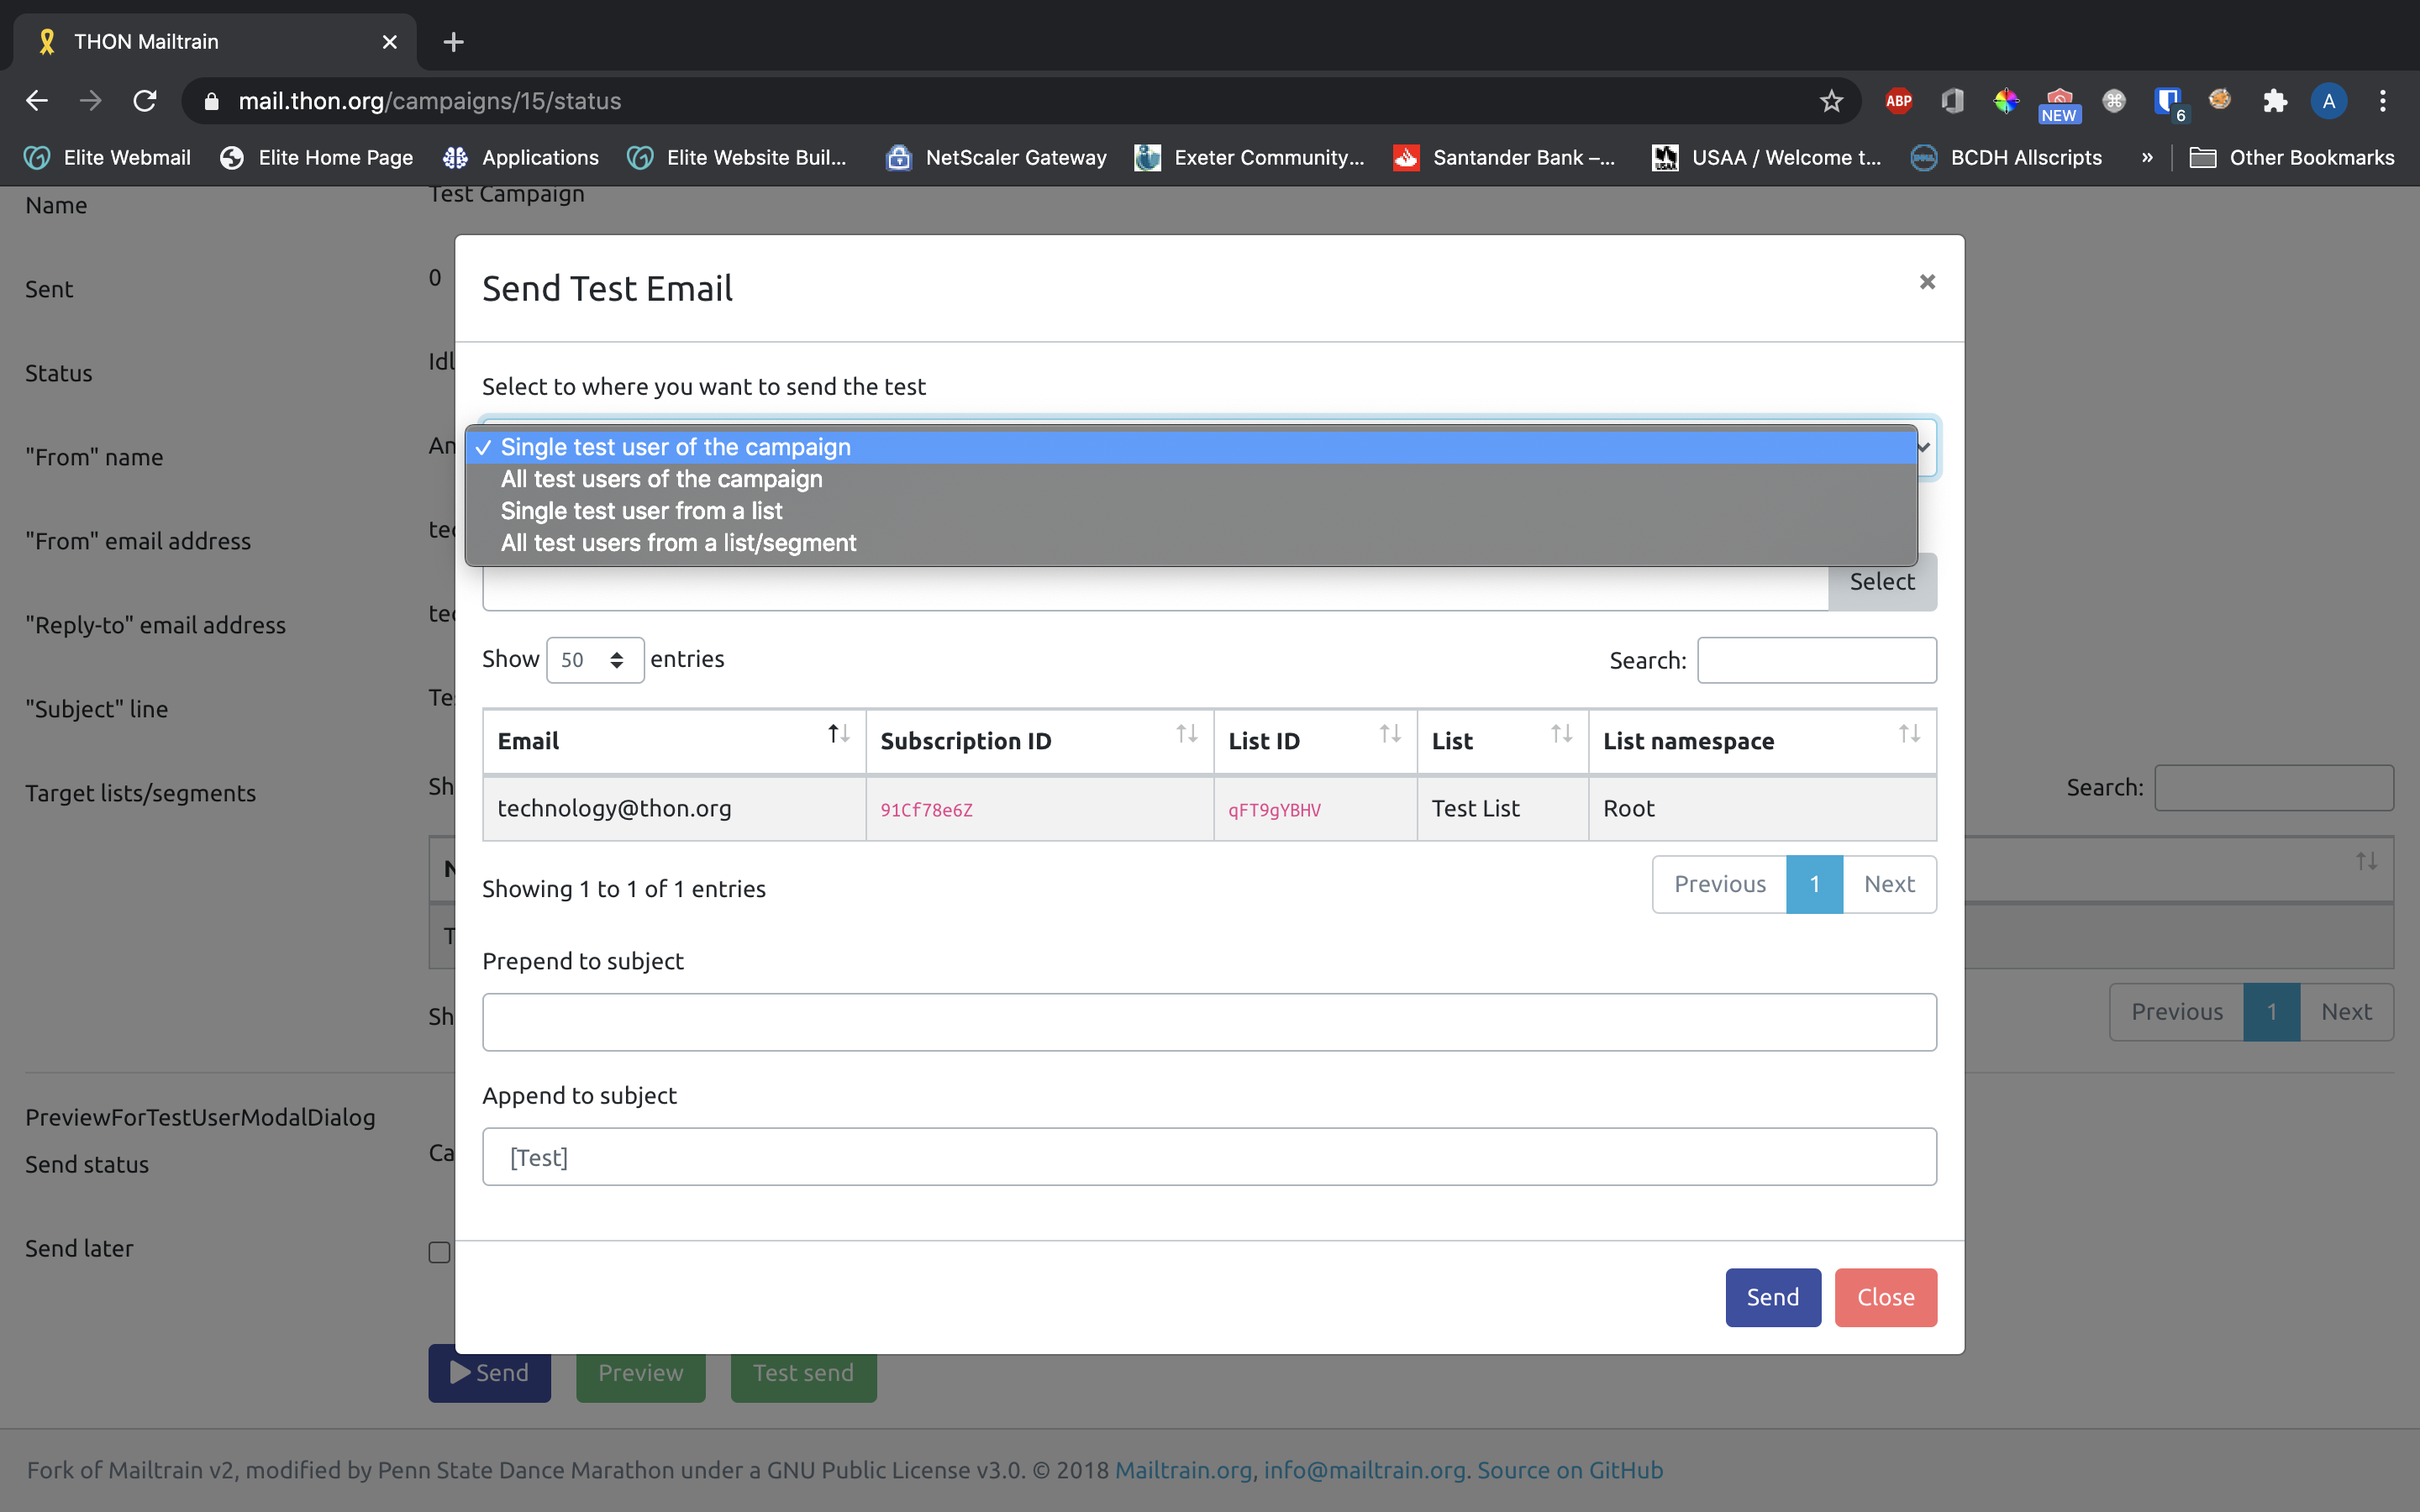
Alternatively, you can also send a Test User an actual copy of the email campaign to preview how it will appear in a mail client. To do so, click the green Test Send button. On the ensuing form, you are able to configure the send to go to one Test User or all Test Users of either the current campaign or any arbitrary campaign. It is recommended to either prepend or append "[TEST]" to the subject line to indicate to recipients that the email is not the campaign itself.

Launching the Campaign
Once you are truly ready to launch your campaign, you can either send it on the spot, or schedule a time to send it sometime in the future. Once you've either launched or scheduled the campaign, click the gray View Statistics button to monitor its progress and metrics. See the next guide on Monitoring a Campaign for more details.
Instant Send
To launch the campaign right away, click the blue Send button and confirm the dialog box that pops up. You will see the status of the campaign immediately change to "Sending", and the "Sent" number will start to increase.

Scheduled Send
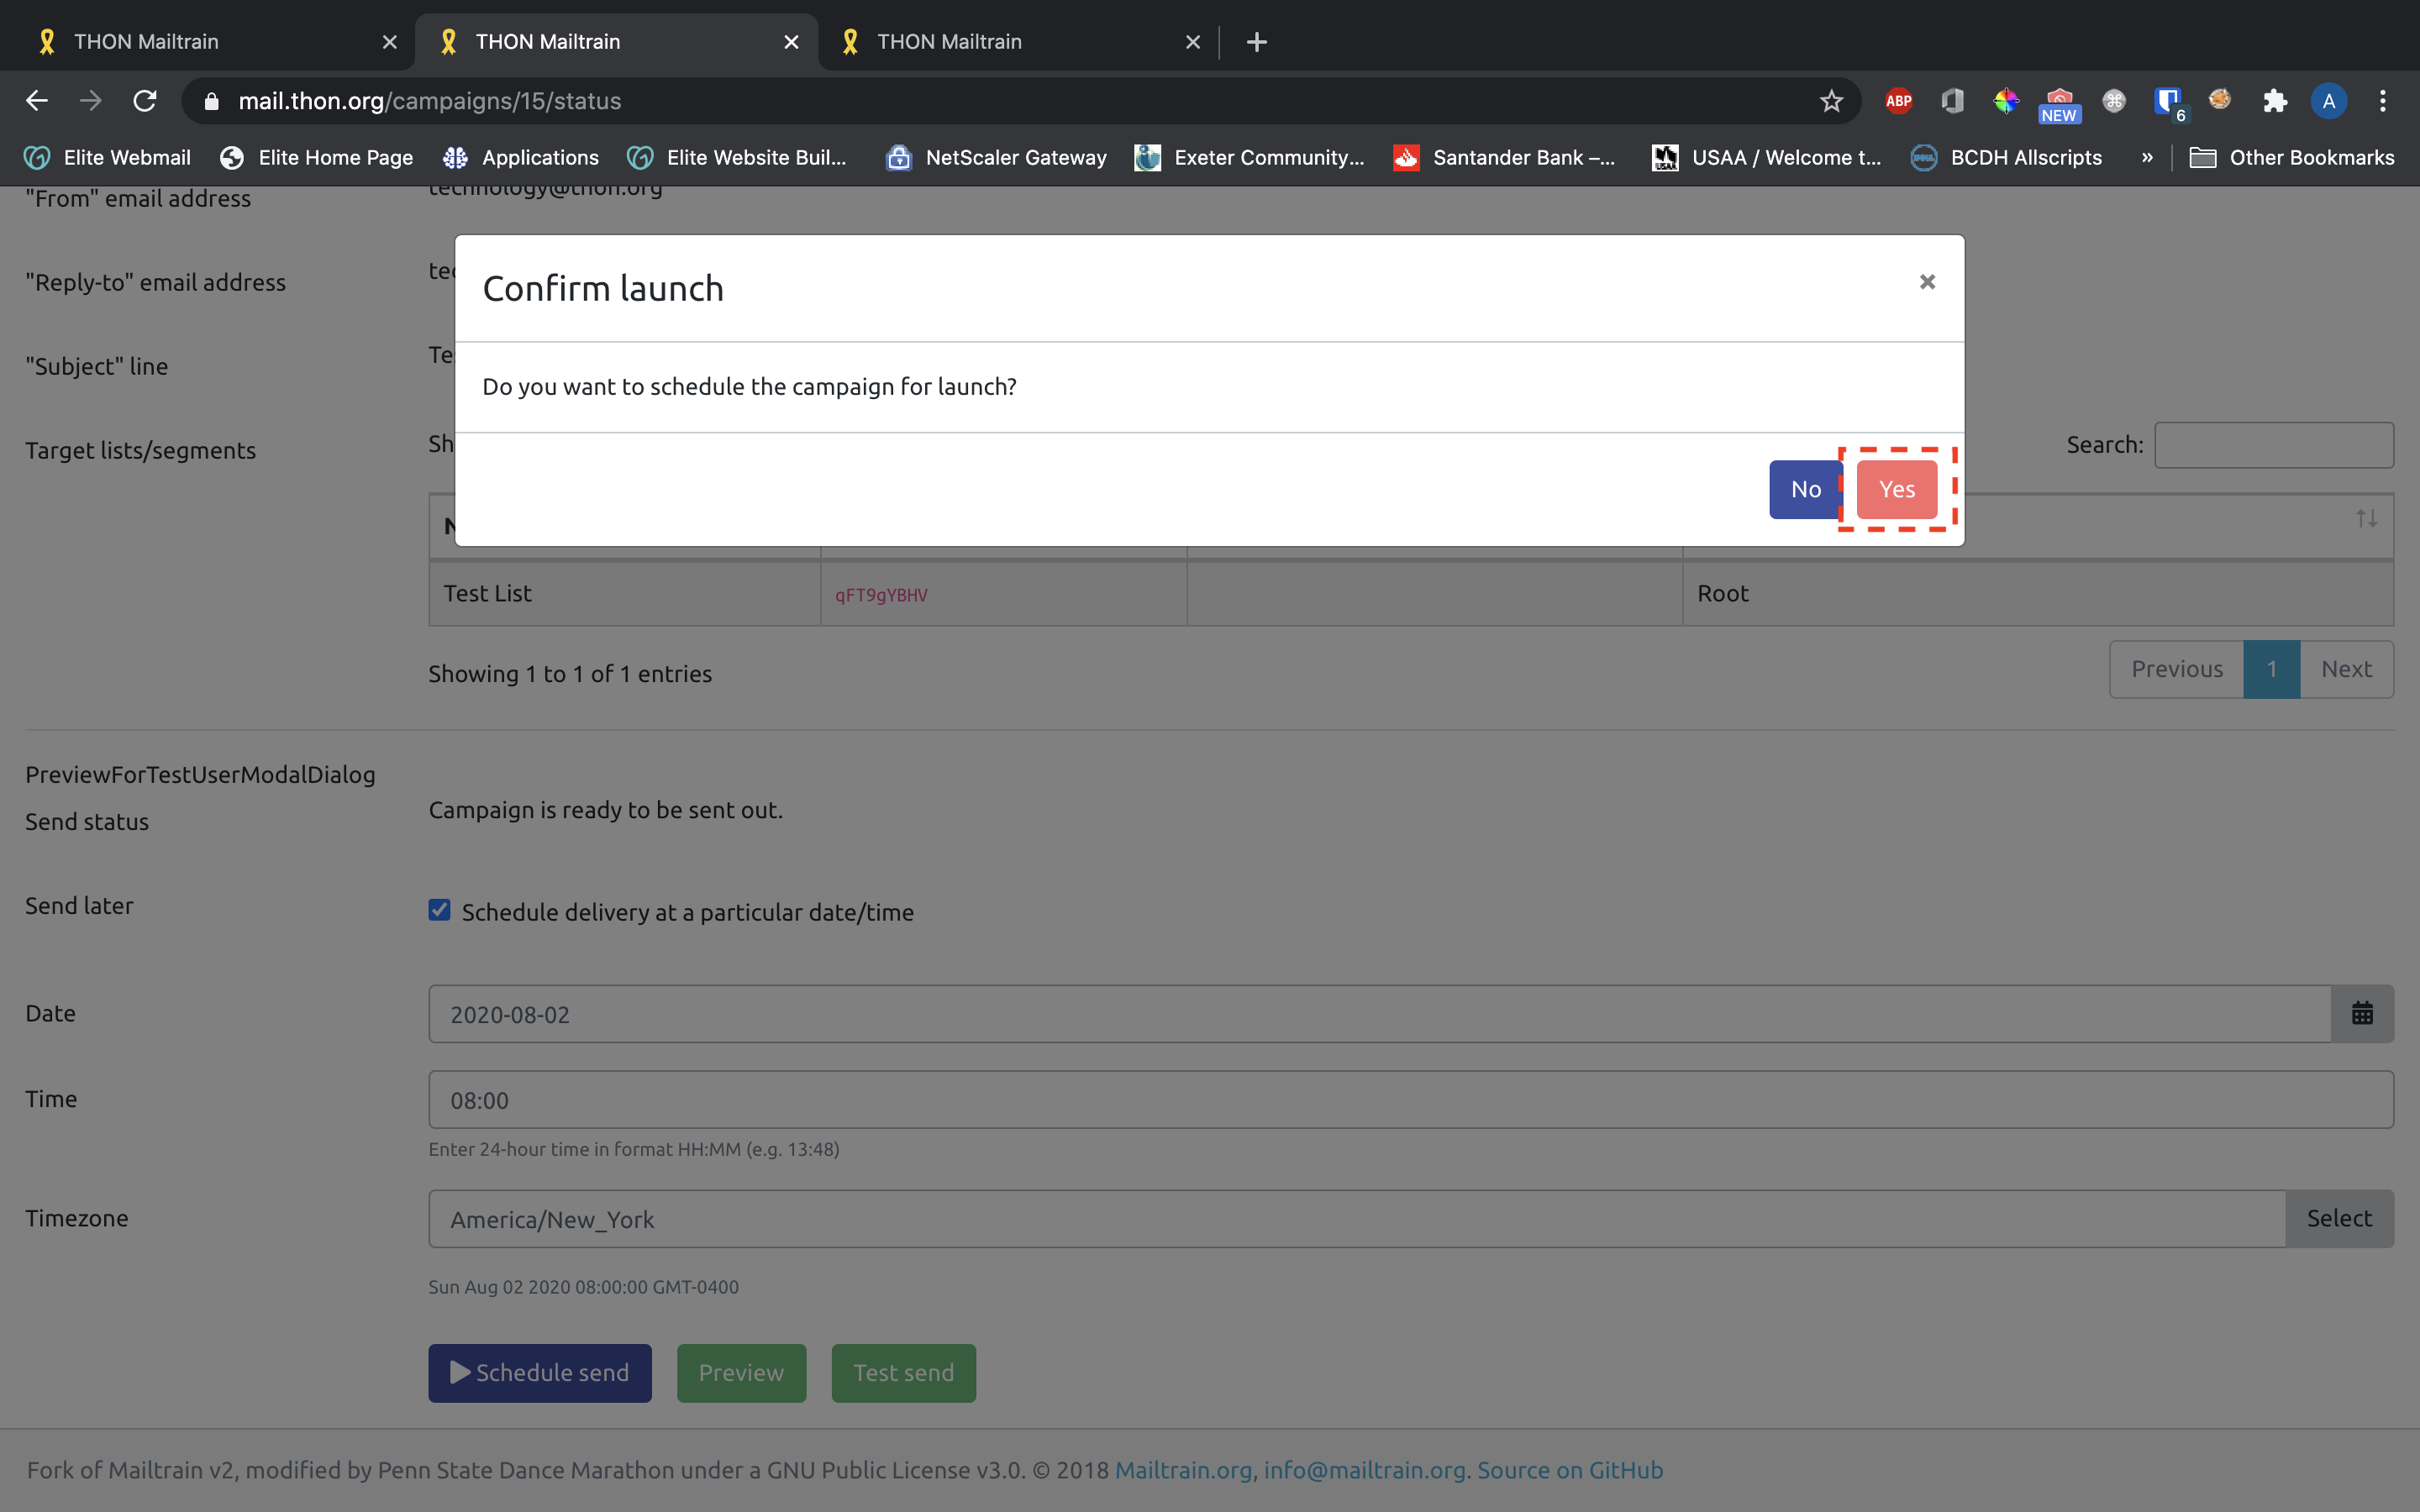
To schedule delivery at a specified date/time, check Send Later near the bottom of the page. Enter a date (YYYY-MM-DD) by text or using the date-picker widget and 24-hour time (HH:MM) in the future that you wish the campaign to launch. The timezone will populate to New York by default. The small text below the timezone field will confirm the values you entered. Once entered, click Schedule Send and confirm the dialog box. You will see the campaign status immediately change to "Scheduled." You can reschedule or cancel the send at any point leading up to the launch time by clicking Reschedule Send and Cancel Send, respectively.